UIImageView is a crucial component in iOS development, allowing you to display images in your app’s user interface. Whether you’re adding icons, photos, or other graphical elements, UIImageView provides a straightforward way to manage and display images. In this blog post, we’ll guide you through the essentials of using UIImageView in Swift.
Step 1: Adding UIImageView to Your View
To start using UIImageView, you need to add it to your view. You can do this either programmatically or using Interface Builder in Xcode.
Option 1: Using Interface Builder
- Open your storyboard or
.xibfile in Xcode. - Drag and drop a UIImageView from the Object Library onto your view.
- Set constraints to position and size the image view as needed.
Option 2: Programmatically
You can also create and add an image view programmatically:
let imageView = UIImageView(frame: CGRect(x: 50, y: 100, width: 200, height: 200))
imageView.contentMode = .scaleAspectFit
view.addSubview(imageView)
In this example:
- An
UIImageViewis created with a specific frame. - The
contentModeis set to.scaleAspectFitto ensure the image scales correctly within the view. - The image view is added to the main view of the view controller.
Step 2: Setting the Image
Once you’ve added the image view, you need to assign an image to it. You can set the image either through Interface Builder or programmatically.
Option 1: Using Interface Builder
- Select the UIImageView in your storyboard or
.xibfile. - In the Attributes Inspector, find the Image property.
- Choose an image from your asset catalog or add a new image if needed.
Option 2: Programmatically
To set an image programmatically:
if let image = UIImage(named: "exampleImage") {
    imageView.image = image
}
In this snippet:
- The
UIImage(named:)initializer is used to load an image from the asset catalog. - The image is then assigned to the
imageView.
Step 3: Adjusting Content Mode
The contentMode property of UIImageView determines how the image is scaled and aligned within the view. Here are some common modes:
- .scaleToFill: Scales the image to fill the entire view, which may distort the image.
- .scaleAspectFit: Scales the image to fit within the view while maintaining its aspect ratio.
- .scaleAspectFill: Scales the image to fill the view while maintaining its aspect ratio, but some parts of the image may be clipped.
- .center: Centers the image without scaling.
To set the content mode programmatically:
imageView.contentMode = .scaleAspectFillStep 4: Handling Image Loading
If you’re loading images from a remote source or a large file, consider handling image loading asynchronously to avoid blocking the main thread. You can use libraries like SDWebImage or Kingfisher for efficient image caching and loading.
Here’s a simple example using Swift’s native URLSession:
func loadImage(from url: URL) {
    let task = URLSession.shared.dataTask(with: url) { data, response, error in
        guard let data = data, error == nil else { return }
        DispatchQueue.main.async {
            self.imageView.image = UIImage(data: data)
        }
    }
    task.resume()
}
Step 5: Adding Interaction
If you want the user to interact with the UIImageView, such as tapping on it, you can enable user interaction and add gesture recognizers.
imageView.isUserInteractionEnabled = true
let tapGesture = UITapGestureRecognizer(target: self, action: #selector(imageTapped))
imageView.addGestureRecognizer(tapGesture)
@objc func imageTapped() {
print("Image view tapped")
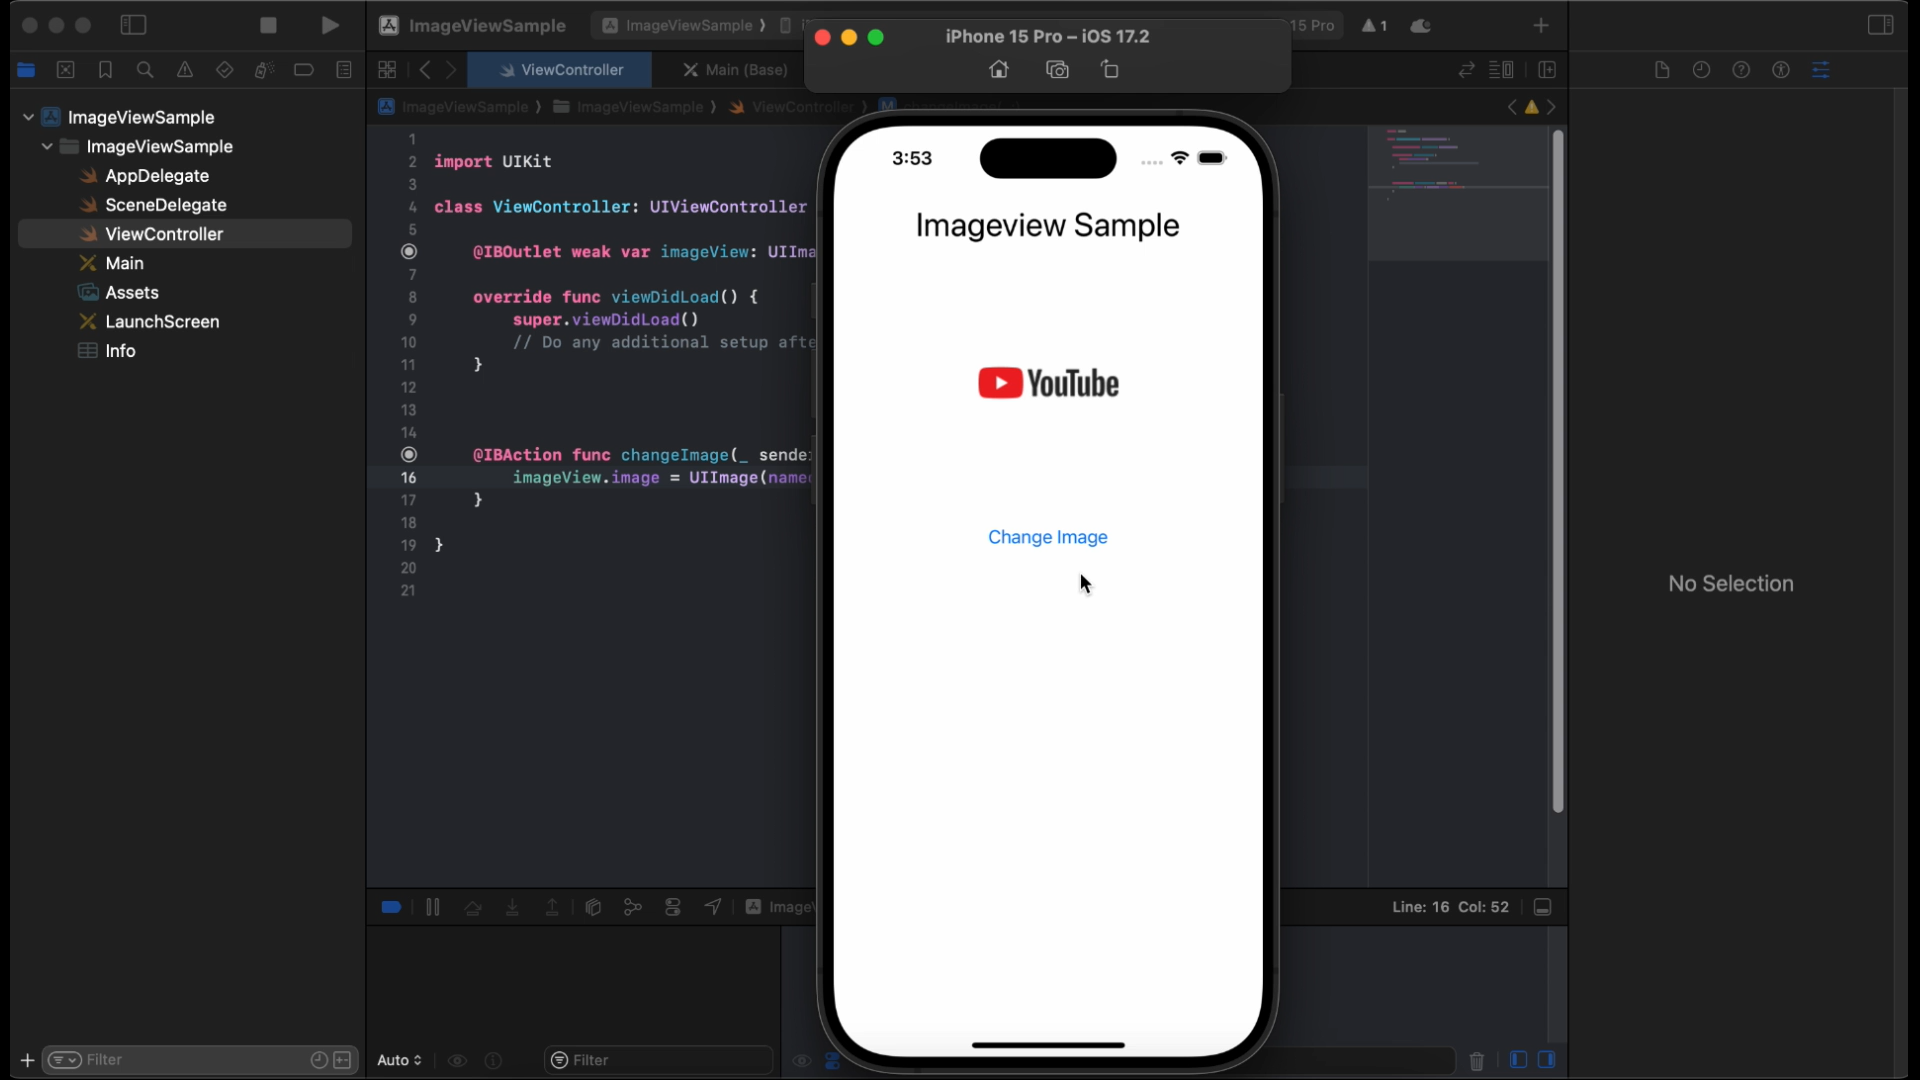
}You can watch “How to Use Image View in Swift” video on our YouTube channel.
Conclusion
UIImageView is an essential tool for displaying images in your iOS applications. Whether you’re working with static images or dynamic content, mastering UIImageView allows you to enhance your app’s user interface effectively. By following these steps, you’ll be well on your way to integrating images seamlessly into your iOS projects.