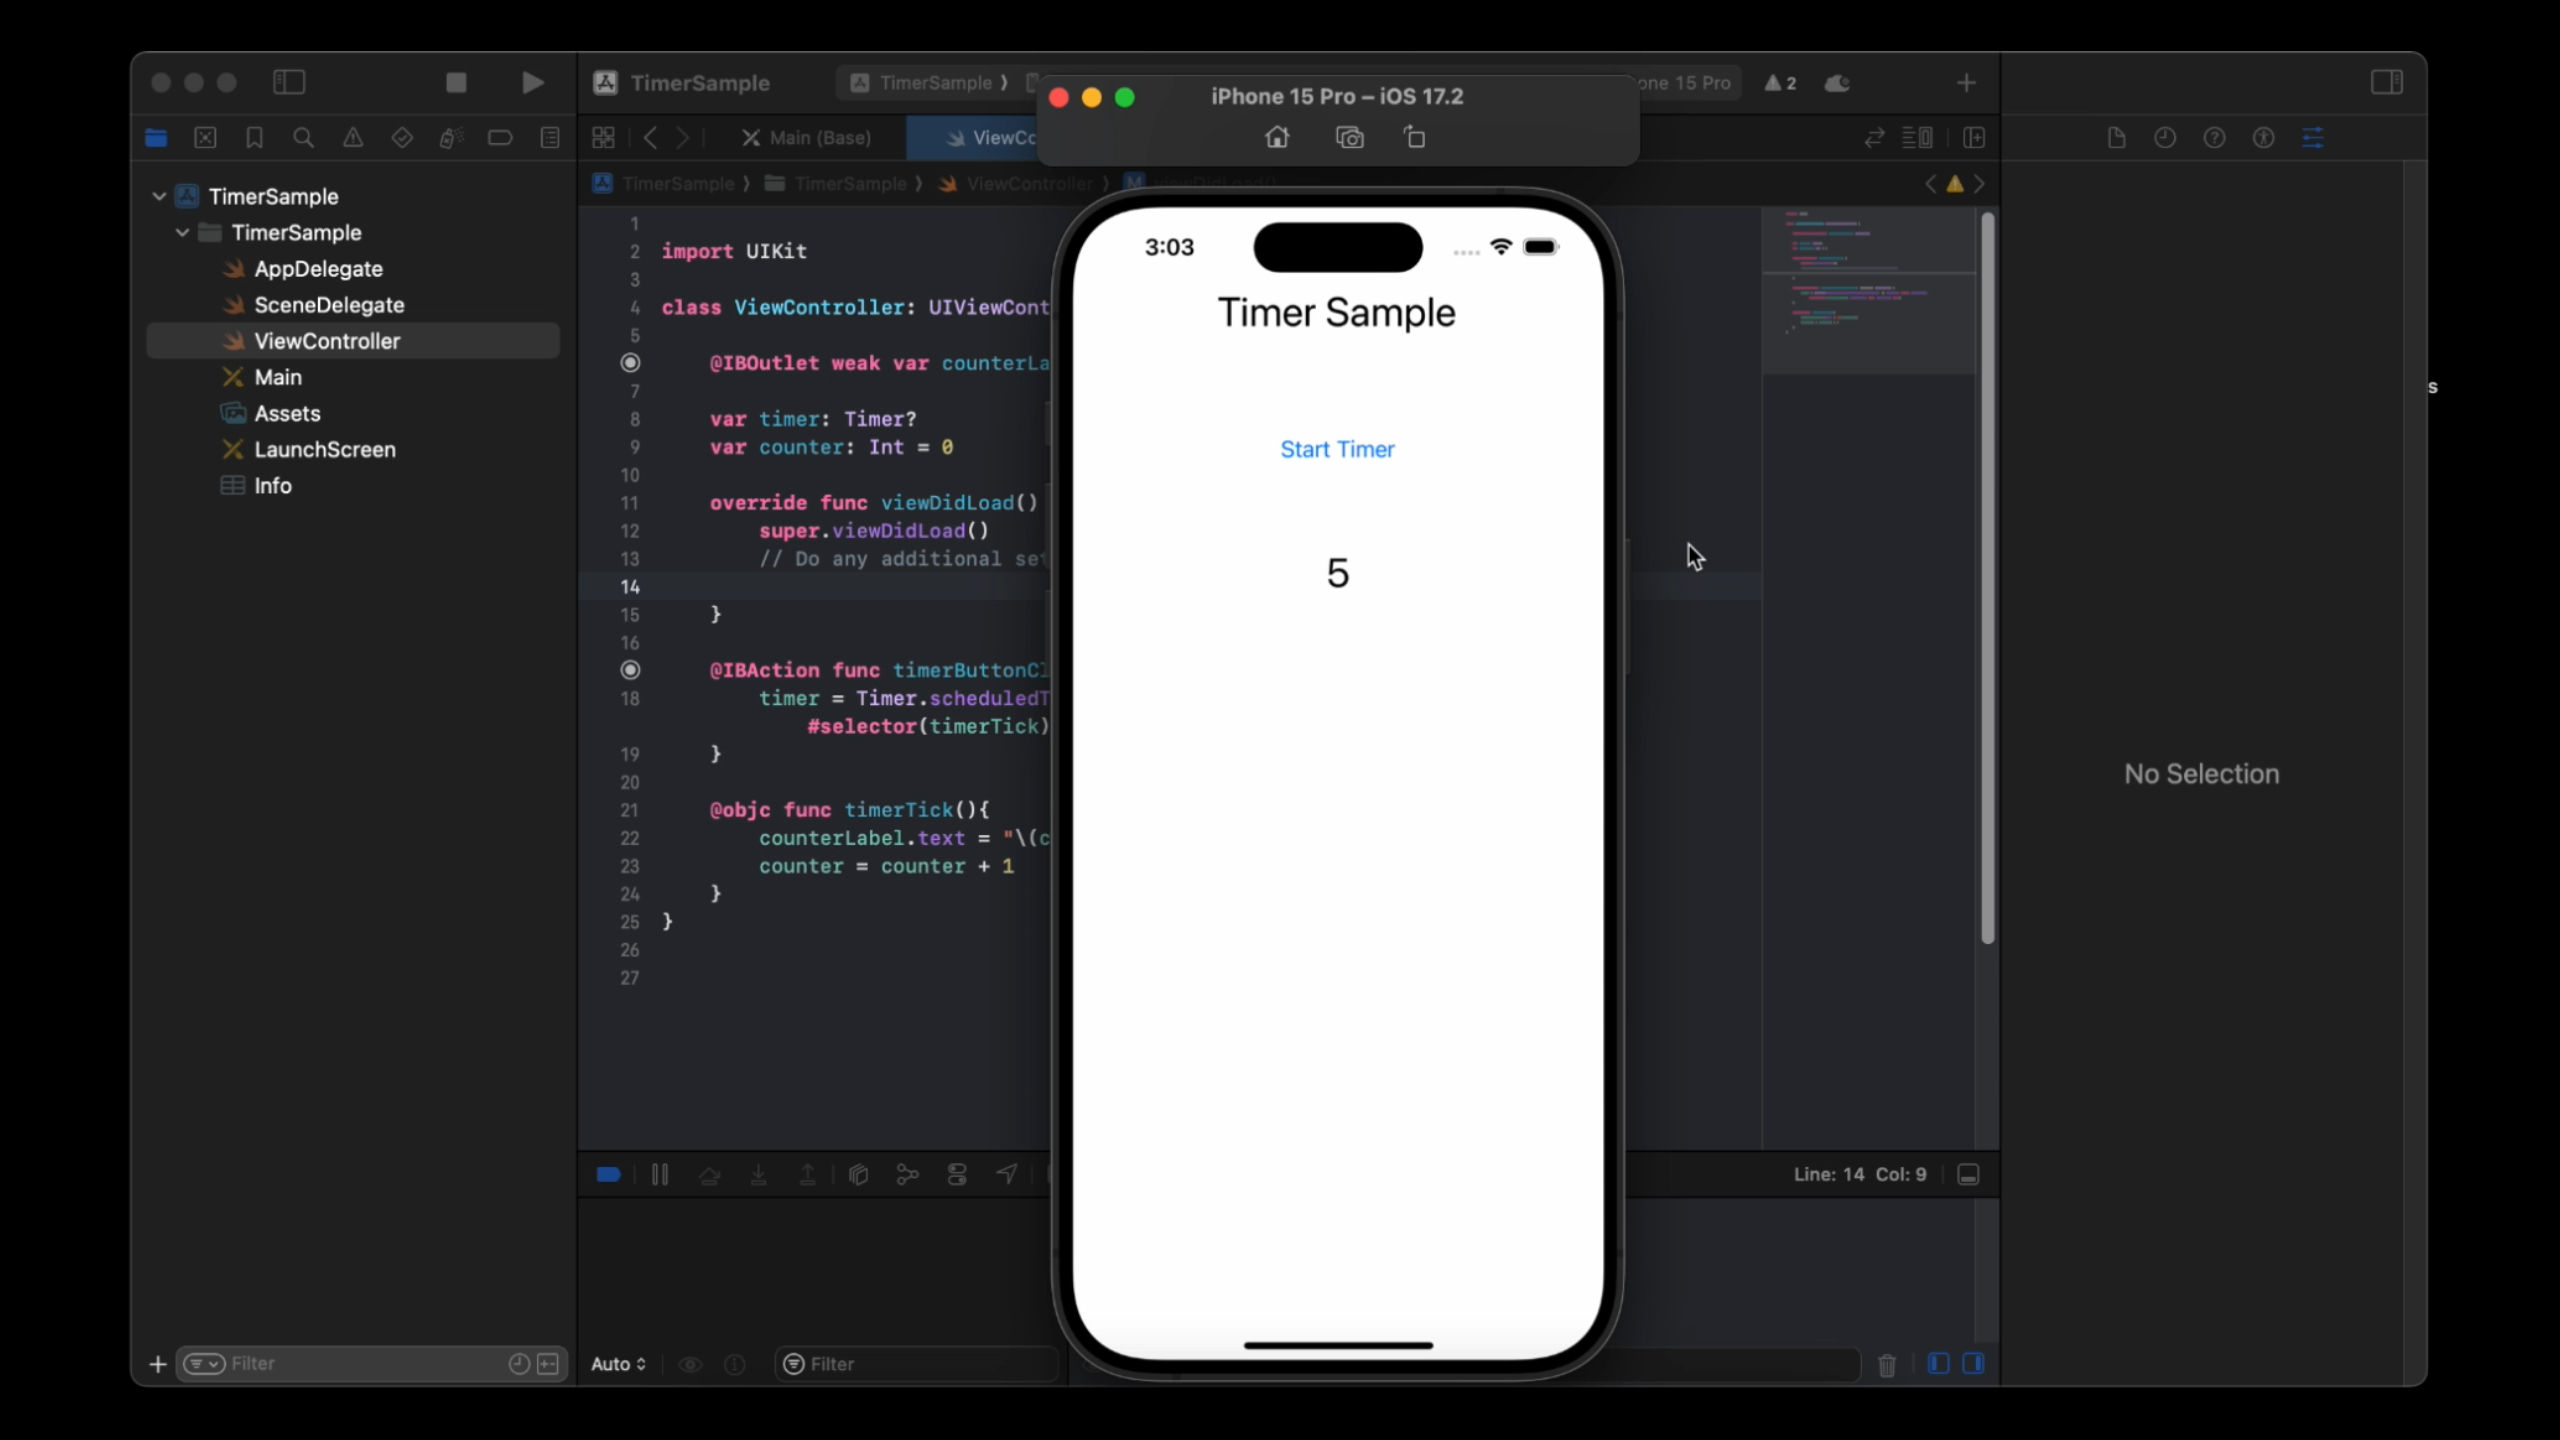
Timers are a fundamental tool when developing apps in Swift, especially when you want to execute code at a set interval or delay. For example, timers are useful for countdowns, repeated actions (like updating a UI element), or delayed tasks. Swift provides a simple and powerful way to create and manage timers using the Timer class.
In this guide, we’ll explore how to use timers in Swift, covering different use cases like scheduling repeated tasks and setting delays.
What is Timer?
Timer (formerly known as NSTimer) is a class in Swift that triggers the execution of a piece of code after a certain time interval. You can create timers that fire either once or repeatedly at regular intervals.
Step 1: Creating a Simple Timer
The simplest way to create a timer in Swift is using the Timer.scheduledTimer() method. This method schedules the timer on the main run loop, meaning it will fire even if your app is busy with other tasks.
Here’s a basic example of creating a timer that fires after a 5-second delay:
Timer.scheduledTimer(withTimeInterval: 5.0, repeats: false) { timer in
    print("Timer fired!")
}
Explanation:
withTimeInterval: 5.0: This sets the timer to trigger after 5 seconds.repeats: false: This makes the timer a one-time event. It will fire once and then stop.- Completion block: Inside the completion block, you define the code to be executed when the timer fires. In this case, it simply prints a message to the console.
Step 2: Creating a Repeating Timer
If you need the timer to fire repeatedly (for example, updating a countdown or a game loop), you can set the repeats parameter to true. The following code sets up a timer that fires every second:
Timer.scheduledTimer(withTimeInterval: 1.0, repeats: true) { timer in
    print("Timer fired!")
}
Explanation:
- Repeating Timer: The
repeatsparameter is set totrue, so the timer will continue firing every second until it is invalidated (i.e., stopped).
Step 3: Stopping a Timer
To stop a repeating timer, you must invalidate it. Once a timer is invalidated, it will not fire again.
Here’s an example where a repeating timer is stopped after 10 seconds:
var timer: Timer?

// Start a repeating timer
timer = Timer.scheduledTimer(withTimeInterval: 1.0, repeats: true) { timer in
    print("Timer fired!")
}

// Stop the timer after 10 seconds
DispatchQueue.main.asyncAfter(deadline: .now() + 10.0) {
    timer?.invalidate()
    print("Timer stopped!")
}
Explanation:
timer?.invalidate(): This invalidates the timer, effectively stopping it from firing any further.DispatchQueue.main.asyncAfter: This schedules a block of code to be executed after a 10-second delay. Inside this block, we stop the timer.
Step 4: Using Timer with a Method Instead of a Closure
In addition to using a closure, you can trigger a method with a timer. This is particularly useful when you want to keep the timer logic separated from the setup code.
Here’s an example of using a selector method with a timer:
class ViewController: UIViewController {
    var timer: Timer?

    override func viewDidLoad() {
        super.viewDidLoad()

        // Start a timer that calls the update method every second
        timer = Timer.scheduledTimer(timeInterval: 1.0, target: self, selector: #selector(update), userInfo: nil, repeats: true)
    }

    @objc func update() {
        print("Timer fired!")
    }

    deinit {
        // Invalidate the timer when the view controller is deallocated
        timer?.invalidate()
    }
}
Explanation:
- Selector Method: The
selectorparameter references the method to be called each time the timer fires. In this case, it calls theupdate()method. @objcAttribute: The method triggered by the timer needs to be marked with@objcbecauseTimeris part of the Objective-C runtime.deinitMethod: This ensures that the timer is invalidated when the view controller is deallocated, preventing potential memory leaks.
Step 5: Using Timer with userInfo
The userInfo parameter allows you to pass additional information to your timer’s closure or method. This can be useful for passing context or data related to the timer’s execution.
Here’s an example:
class ViewController: UIViewController {
    var timer: Timer?

    override func viewDidLoad() {
        super.viewDidLoad()

        // Start a timer and pass userInfo
        timer = Timer.scheduledTimer(timeInterval: 2.0, target: self, selector: #selector(handleTimer), userInfo: ["message": "Timer fired with info"], repeats: true)
    }

    @objc func handleTimer(timer: Timer) {
        if let userInfo = timer.userInfo as? [String: String], let message = userInfo["message"] {
            print(message)
        }
    }

    deinit {
        timer?.invalidate()
    }
}
Explanation:
userInfo: This allows passing custom data to the method that gets triggered by the timer. In this example, we pass a dictionary containing a message.- Accessing
userInfo: Inside thehandleTimermethod, we extract the message from theuserInfodictionary.
Step 6: Timers in Background Threads
By default, timers run on the main thread (the UI thread). However, if you need a timer to run on a background thread (for instance, for background processing), you can use DispatchSourceTimer. This is a lower-level API that allows more flexibility.
Here’s an example:
let queue = DispatchQueue(label: "com.example.timer", attributes: .concurrent)

let timer = DispatchSource.makeTimerSource(queue: queue)
timer.schedule(deadline: .now(), repeating: 1.0)

timer.setEventHandler {
    print("Background Timer fired!")
}

timer.resume()
Explanation:
- DispatchSourceTimer: This is a more advanced way of creating timers that can run on background threads, offering greater control over the scheduling and execution of timer events.
You can watch “How to Use Timers in Swift” video on our YouTube channel.
Conclusion
Timers are a valuable tool for scheduling tasks in Swift. Whether you’re working with simple delays, repeating actions, or background processing, Swift’s Timer class and DispatchSourceTimer have you covered. From creating basic timers to more complex scenarios involving user info or background threads, the timer API is flexible and easy to use.
Now, you’re ready to start incorporating timers into your own apps to handle scheduled tasks and periodic updates effectively! Happy coding!
