Alerts are a great way to communicate important information or get user input in your iOS app. Whether you need to notify users about an error, ask for confirmation, or display simple messages, alerts are an essential UI component. In Swift, showing alerts is quite simple and effective using the UIAlertController class.
In this post, we’ll walk through how to present an alert in Swift, including how to add buttons, handle user actions, and customize the alert.
What is UIAlertController?
UIAlertController is a versatile class in iOS that allows you to create and present both alerts and action sheets. It handles presenting the alert, managing button actions, and dismissing itself when the user makes a choice. You can create either:
- Alerts: Inform the user or ask for a simple response (e.g., OK/Cancel).
- Action Sheets: Provide a list of options that the user can choose from, usually displayed from the bottom of the screen.
For this guide, we’ll focus on creating and presenting alerts.
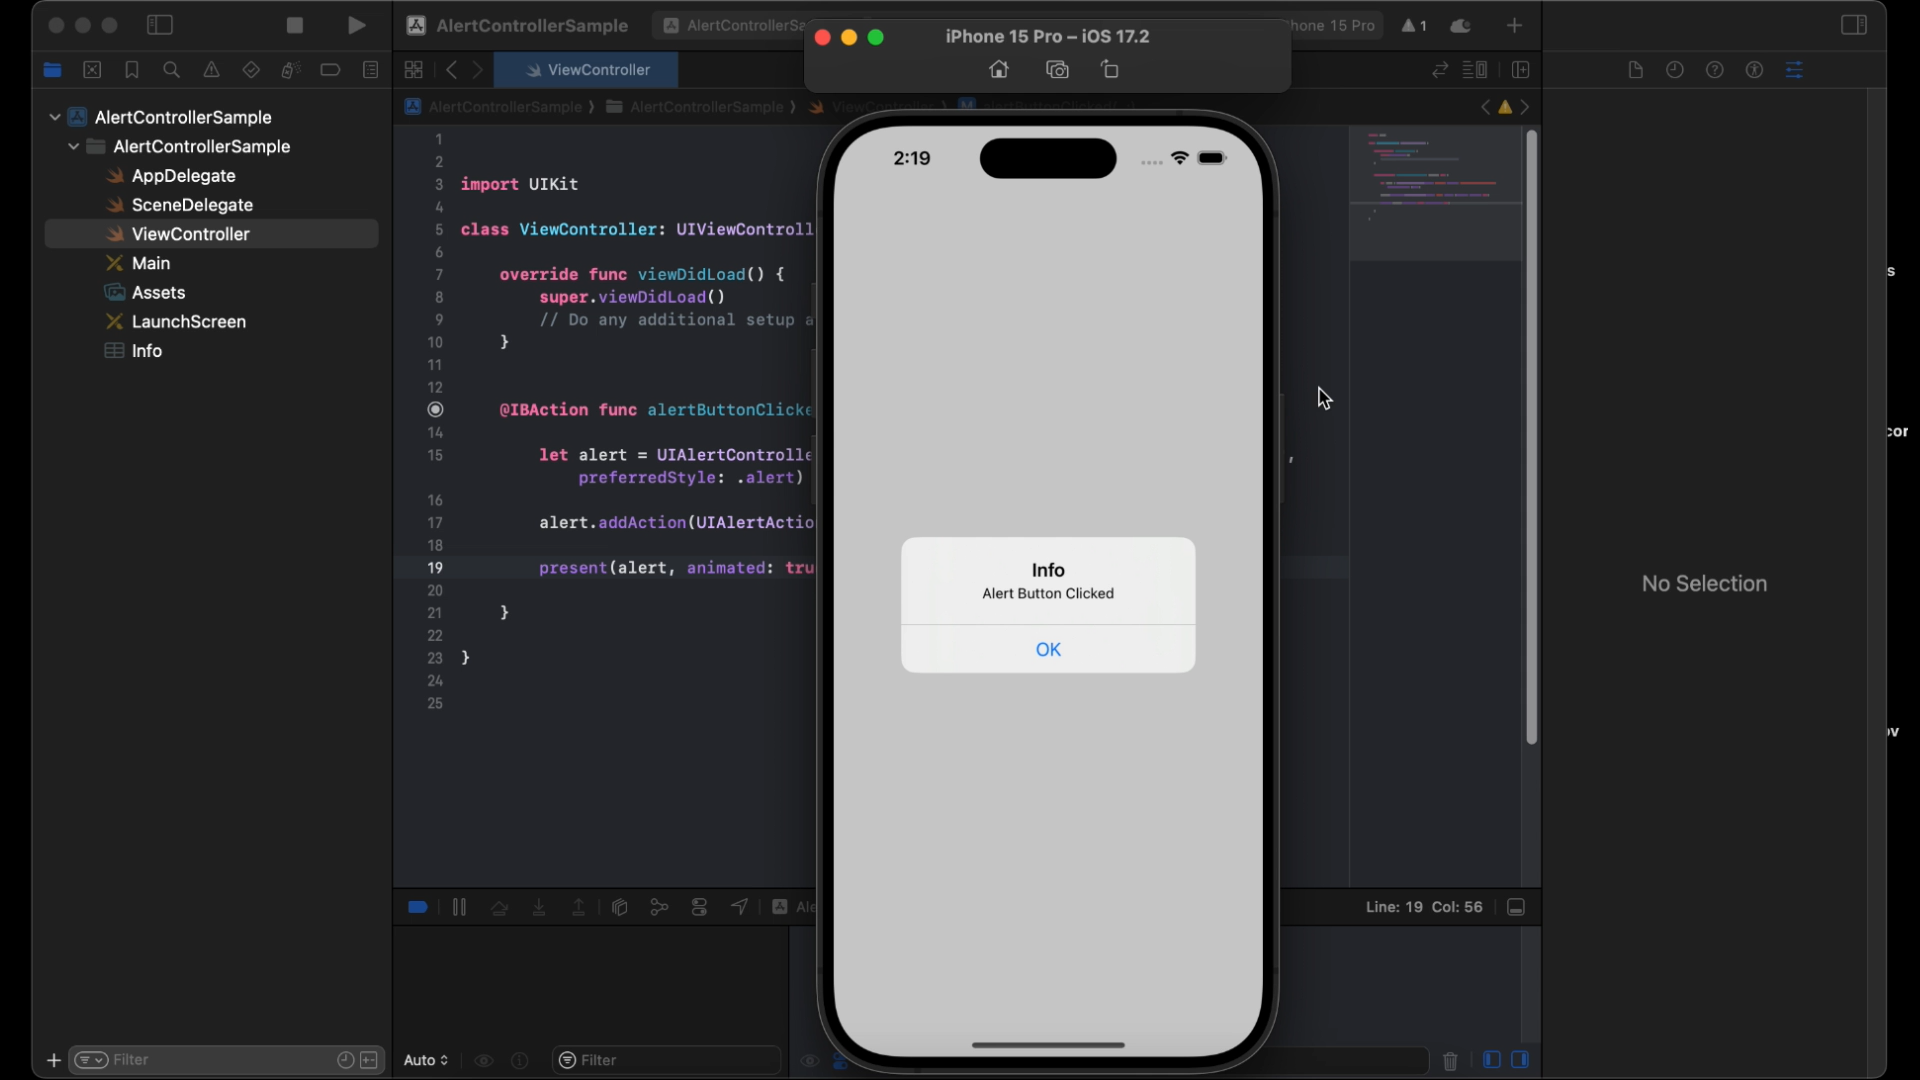
Step 1: Create a Simple Alert
To show a basic alert, you need to create an instance of UIAlertController, specify a title, message, and style, and then present it on the screen.
Here’s a simple example:
let alert = UIAlertController(title: "Welcome", message: "This is a basic alert.", preferredStyle: .alert)

let okAction = UIAlertAction(title: "OK", style: .default, handler: nil)

alert.addAction(okAction)

present(alert, animated: true, completion: nil)
Explanation:
- Title and Message: You specify the title and message for your alert. In this case,
"Welcome"is the title, and"This is a basic alert."is the message. preferredStyle: By setting.alert, we create a classic pop-up alert. You could also use.actionSheetfor other use cases.UIAlertAction: This defines a button inside the alert. The"OK"button will dismiss the alert when tapped. The handler can be set tonilif no action is required after tapping.present(alert, animated: true): This method presents the alert on the screen with animation.
Step 2: Adding Multiple Actions
Most alerts will have more than one button, like a confirmation dialog with “OK” and “Cancel”. You can easily add more actions to the alert by creating additional UIAlertAction objects.
Here’s an example:
let alert = UIAlertController(title: "Confirm", message: "Are you sure you want to proceed?", preferredStyle: .alert)

// Add OK action
let okAction = UIAlertAction(title: "OK", style: .default) { _ in
    print("User tapped OK")
}

// Add Cancel action
let cancelAction = UIAlertAction(title: "Cancel", style: .cancel) { _ in
    print("User tapped Cancel")
}

alert.addAction(okAction)
alert.addAction(cancelAction)

present(alert, animated: true, completion: nil)
Explanation:
- Multiple Actions: We added two buttons—
OKandCancel. Each button can have a unique style (default, cancel, or destructive). - Handler Block: When a button is tapped, the corresponding block of code in the handler is executed. In this case, it prints a message to the console.
Step 3: Adding a Text Field to the Alert
In some cases, you might want to ask the user to input some text directly in the alert (e.g., asking for a username or confirmation code). UIAlertController allows you to add text fields to your alert.
Here’s an example:
let alert = UIAlertController(title: "Enter Name", message: "Please enter your name below.", preferredStyle: .alert)

// Add a text field
alert.addTextField { textField in
    textField.placeholder = "Your Name"
}

// Add actions
let okAction = UIAlertAction(title: "Submit", style: .default) { _ in
    if let name = alert.textFields?.first?.text {
        print("Name entered: \(name)")
    }
}

let cancelAction = UIAlertAction(title: "Cancel", style: .cancel, handler: nil)

alert.addAction(okAction)
alert.addAction(cancelAction)

present(alert, animated: true, completion: nil)
Explanation:
addTextField: This method adds a text field to the alert, and you can configure its placeholder text, secure entry, keyboard type, etc.- Fetching Input: Inside the
okActionhandler, we fetch the text entered by the user by accessingalert.textFields?.first?.text.
Step 4: Customize Button Styles
UIAlertAction allows you to choose from several styles for the buttons:
.default: A standard button (usually blue)..cancel: A button that closes the alert without doing anything..destructive: A button that indicates a destructive action (often red).
Here’s how you can use a destructive style:
let deleteAction = UIAlertAction(title: "Delete", style: .destructive) { _ in
    print("Item deleted")
}

alert.addAction(deleteAction)
The destructive button style is commonly used for actions like deleting an item, confirming a permanent change, or similar scenarios.
Full Example
Let’s put everything together into a complete example that includes a title, message, multiple buttons, and a text field:
let alert = UIAlertController(title: "Account Setup", message: "Please enter your account information.", preferredStyle: .alert)

// Add a text field
alert.addTextField { textField in
    textField.placeholder = "Email"
    textField.keyboardType = .emailAddress
}

// Add actions
let saveAction = UIAlertAction(title: "Save", style: .default) { _ in
    if let email = alert.textFields?.first?.text {
        print("Email entered: \(email)")
    }
}

let cancelAction = UIAlertAction(title: "Cancel", style: .cancel, handler: nil)

alert.addAction(saveAction)
alert.addAction(cancelAction)

// Present the alert
present(alert, animated: true, completion: nil)
You can watch “How to Show Alert in Swift” video on our YouTube channel.
Conclusion
Presenting alerts in Swift is a straightforward yet powerful way to interact with users in your app. Whether you need to show a simple message, confirm an action, or request input, UIAlertController has you covered. By leveraging multiple actions, text fields, and button styles, you can create dynamic and engaging user experiences.
Now, you’re ready to start using alerts in your own apps. Go ahead and experiment with different styles and customizations!