A launch screen is the first thing users see when they open your app. It’s a great way to make a solid first impression, ensure a smooth transition into the app, and give users something to look at while the app loads. In this post, we’ll walk through creating a basic launch screen for an iOS app using Swift and Xcode.
Step 1: Create Launch Screen in Xcode
Xcode automatically includes a Launch Screen storyboard in every new project, making the process easier.
- Open Xcode and Your Project: Start by opening your Xcode project or creating a new one.
- Locate the Launch Screen: In the project navigator on the left, look for a file named
LaunchScreen.storyboard. If it’s not there, you can add a new storyboard file and name itLaunchScreen.storyboard. - Configure the Launch Screen in Project Settings: In your Xcode project, go to the project settings by clicking the top project icon in the navigator, then select your target under TARGETS. Under the General tab, scroll down to the App Icons and Launch Images section. You’ll see an option for Launch Screen File. Make sure it points to
LaunchScreen.storyboard.
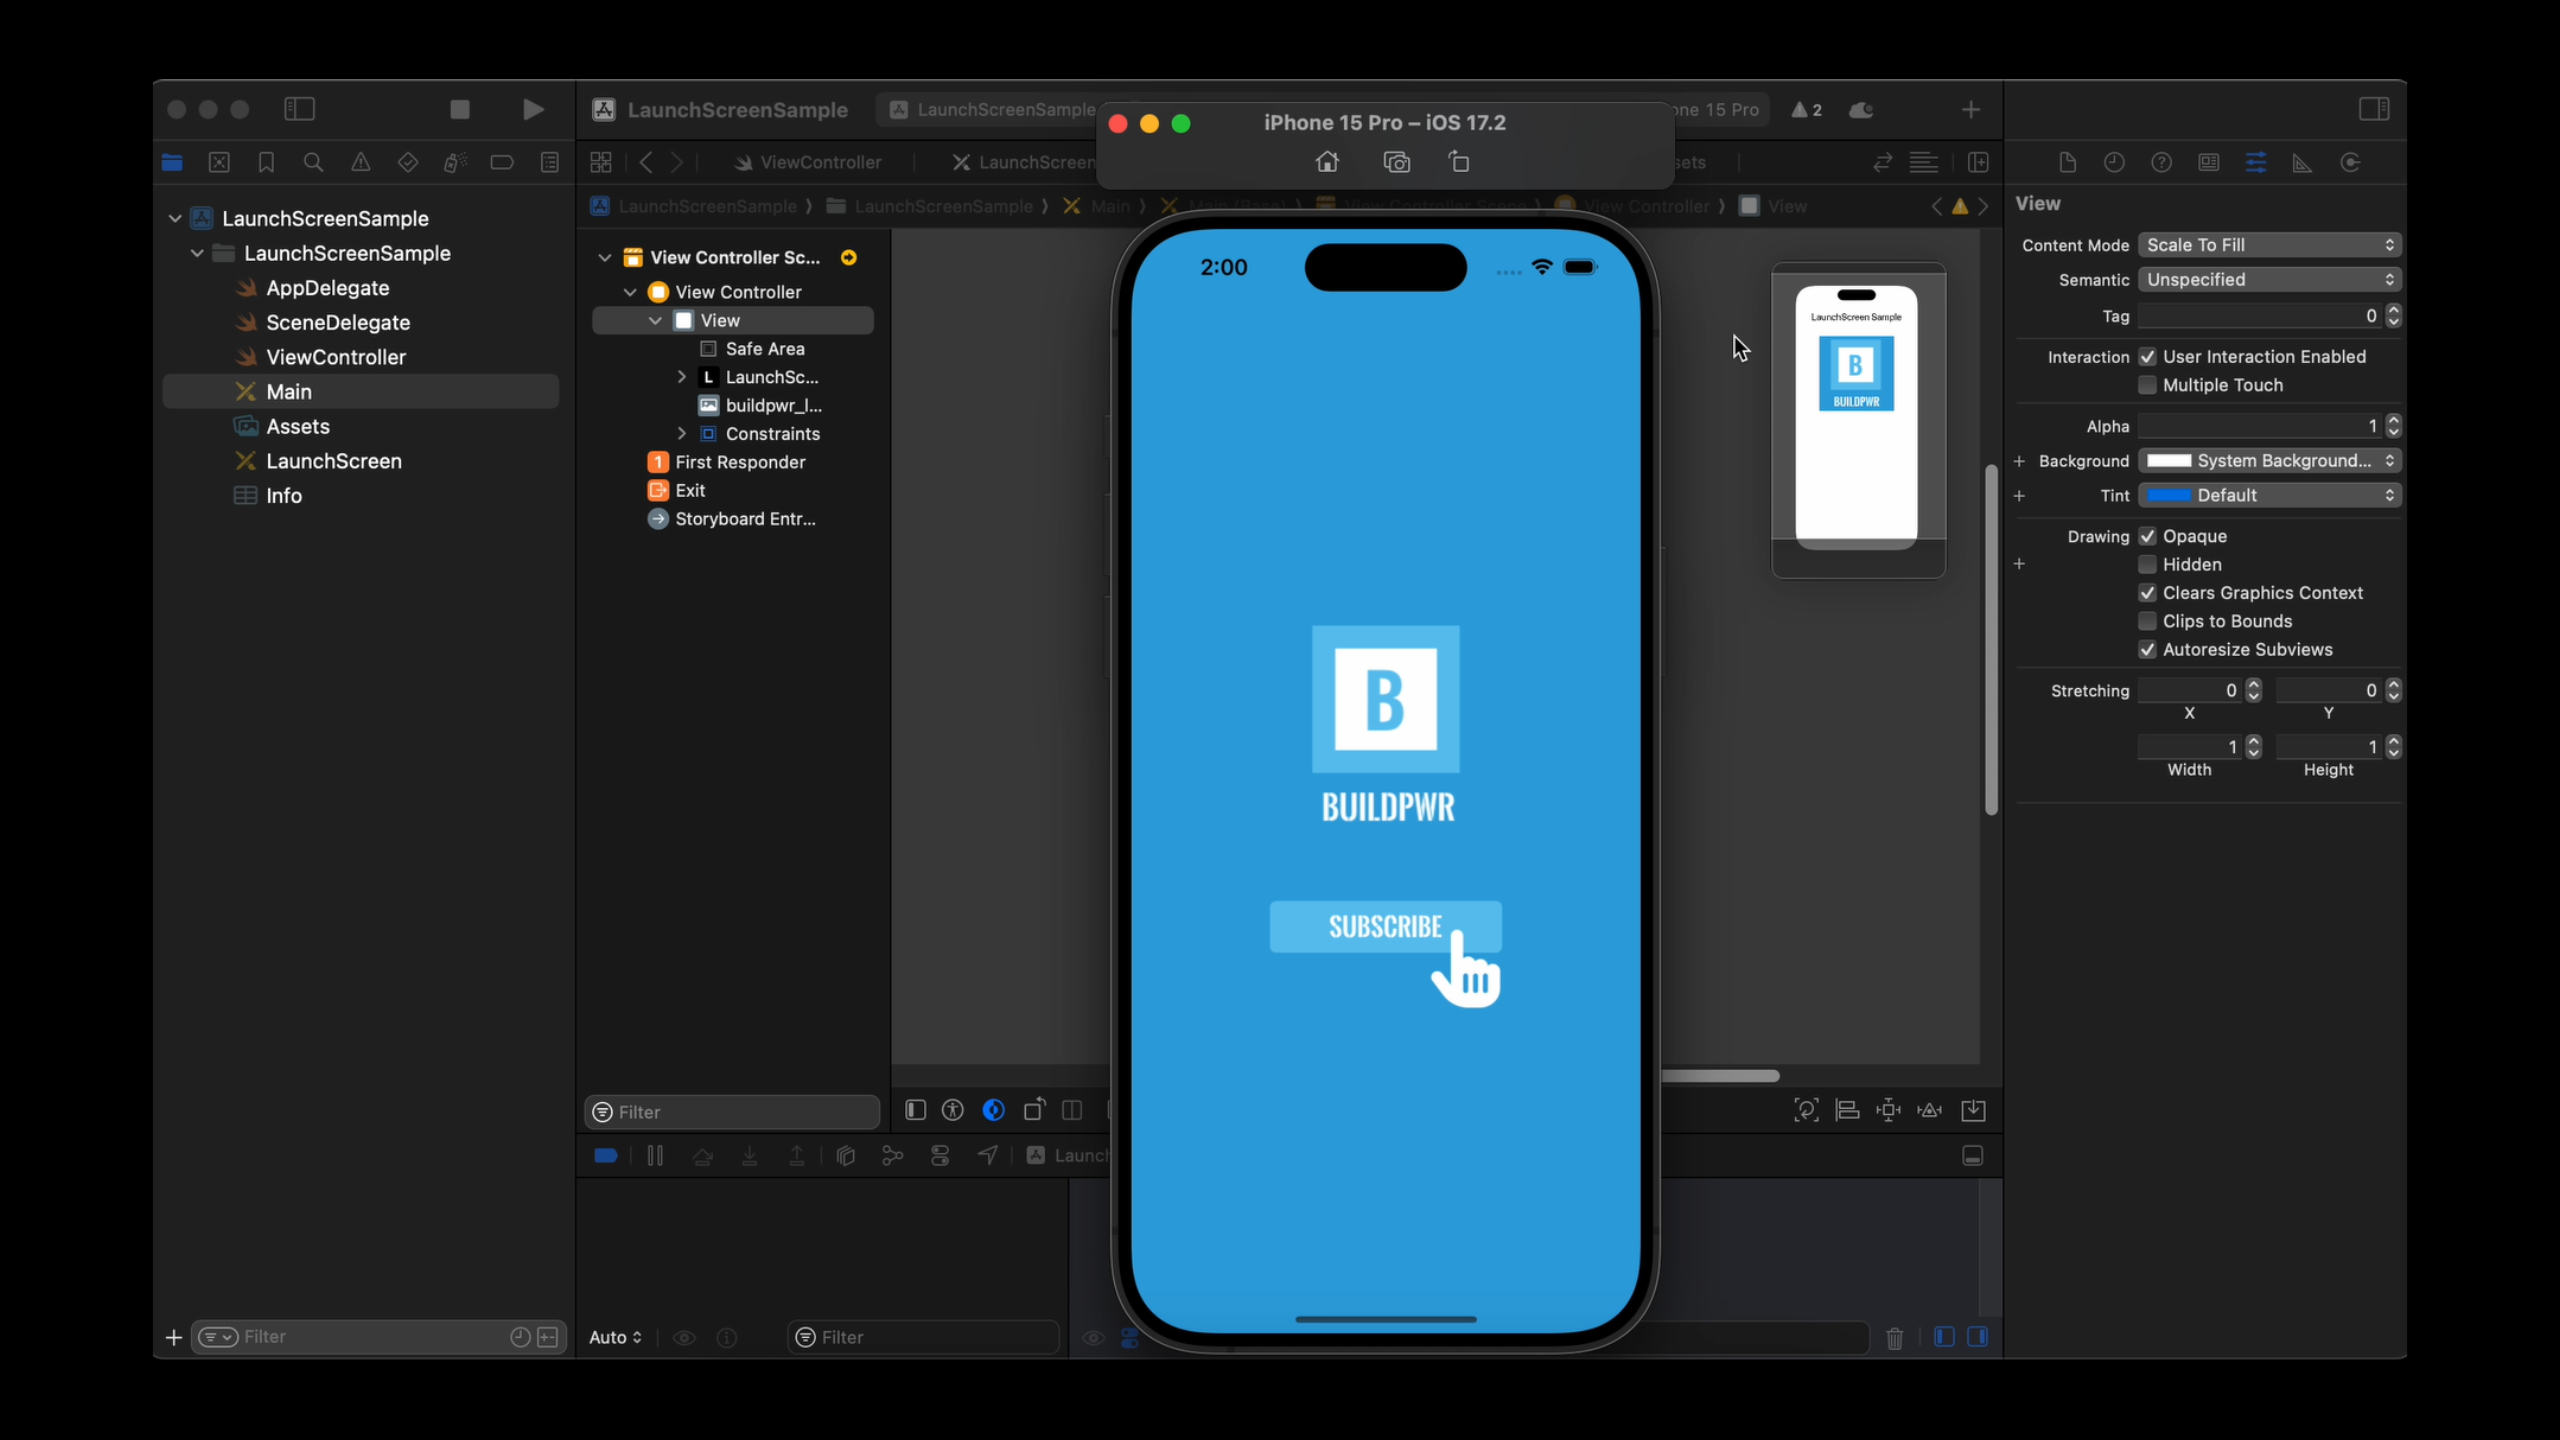
Step 2: Designing the Launch Screen
To keep it simple, let’s add a logo and a background color to the launch screen.
- Open the Launch Screen Storyboard: Double-click on
LaunchScreen.storyboardto open it. - Add a Background Color:
- Click on the View in the outline or directly on the screen.
- In the right-side utilities panel, find the Attributes Inspector.
- Under the Background property, choose a color (e.g., light gray).
- Add an Image (Logo):
- Drag and drop an Image View from the Object Library onto the launch screen.
- Set its position and size by using Auto Layout constraints.
- In the Attributes Inspector, select the image you want to use for your logo from the Image dropdown. Make sure you’ve added the image to your Xcode project’s Assets folder.
Step 3: Adding the Logo to the Assets Folder
Before your image appears on the launch screen, you’ll need to add it to your project:
- Open Assets Folder: In the project navigator, find the folder named
Assets.xcassets. - Add Your Image: Drag and drop your image file into the Assets folder. You can name it something like
logo. - Link the Image to the Launch Screen: In the Attributes Inspector of the Image View on your storyboard, select the image name (e.g.,
logo) from the Image dropdown.
Step 4: Auto Layout for the Logo
To ensure the image appears correctly on all screen sizes, we need to set up constraints using Auto Layout:
- Select the Image View.
- Set Constraints: In the bottom-right corner of the storyboard editor, click on the Add New Constraints button.
- Add Centering Constraints:
- Add constraints to center the logo horizontally and vertically in the view.
- Optionally, set a width and height constraint to make sure the logo scales appropriately across different screen sizes.
Full Example of a Launch Screen Setup
Here’s a summary of the steps:
- Background Color: Set a background color for the view.
- Image View: Add an image (logo) to the launch screen using the Image View and link it to an image file in your assets.
- Auto Layout: Center the logo and apply constraints for width and height.
You don’t need to write any code for the launch screen because it’s purely handled through the storyboard.
Step 5: Testing the Launch Screen
To see your launch screen in action:
- Run the App: Click on the Run button or press
Cmd + R. When the app starts, you should see the launch screen with your background color and logo before the main app content loads.
Tips for a Better Launch Screen
- Keep It Simple: A launch screen is meant to be static. Avoid adding too much complexity, like animations or text that might need localization.
- Use Images Sparingly: Keep your launch screen lightweight to avoid increasing load times.
- Design Consistency: Try to make your launch screen’s design resemble the first screen of your app to create a smooth visual transition.
You can watch “How to Create Launch Screen in Swift” video on our YouTube channel.
Conclusion
Creating a launch screen in Swift is a straightforward process that can be done entirely through Xcode’s storyboard. By setting a background color, adding an image (logo), and applying constraints with Auto Layout, you can create a clean, professional-looking launch screen that enhances the user experience. No coding is required for this—just a few steps in the Xcode interface!