UISwitch is a common UI control in iOS development, allowing users to toggle between two states: on or off. It’s similar to a physical switch and is widely used for settings, preferences, or any scenario where you need a simple binary choice. In this blog post, we’ll walk through how to use UISwitch in Swift.
Step 1: Add UISwitch to Your View
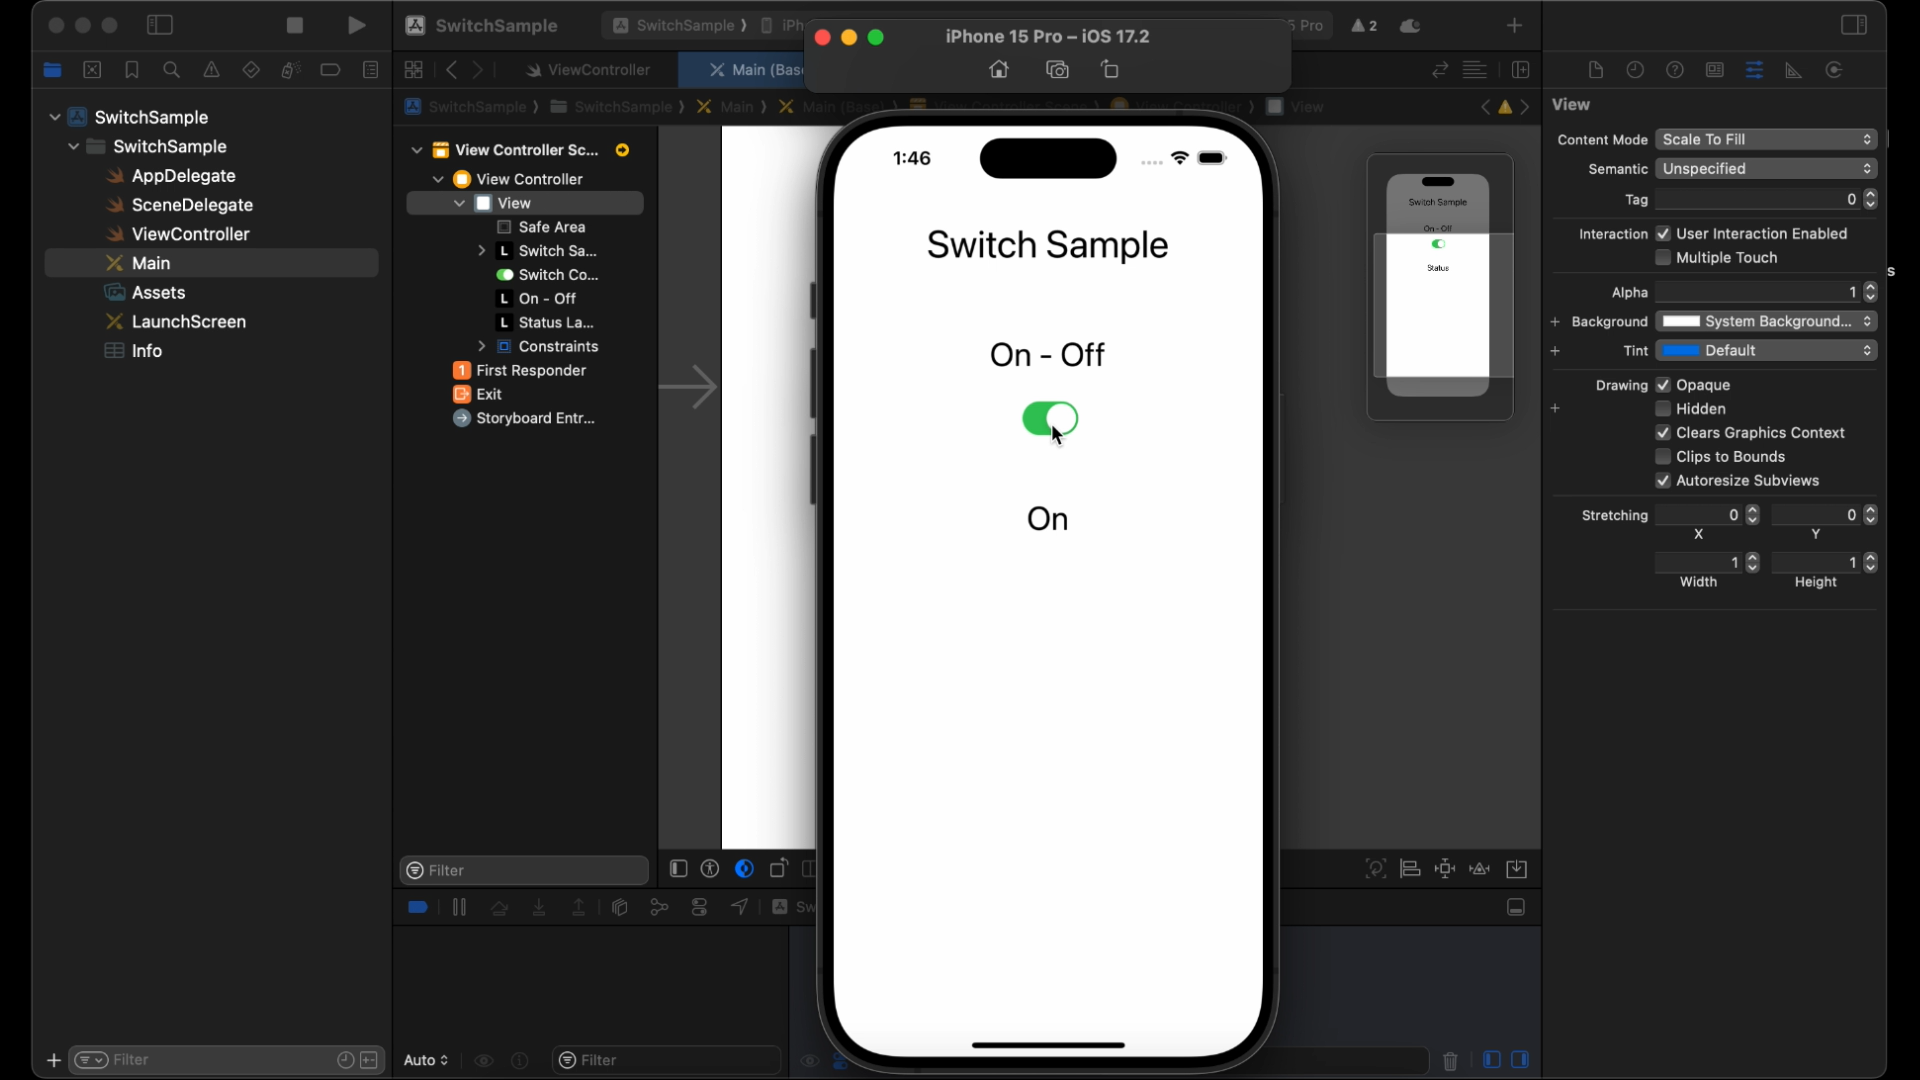
To begin, you need to add a UISwitch to your app’s view. You can do this either programmatically or by using Interface Builder in Xcode.
Option 1: Using Interface Builder
- Open your storyboard or
.xibfile in Xcode. - Drag and drop a Switch from the Object Library onto your view.
- Set constraints to position the switch as needed.
Option 2: Programmatically
Alternatively, you can create the switch programmatically in Swift:
let mySwitch = UISwitch(frame: CGRect(x: 150, y: 300, width: 0, height: 0))
view.addSubview(mySwitch)
This code creates a UISwitch at a specific position on the screen (150, 300). The width and height are determined automatically by the system.
Step 2: Configure the UISwitch
Once your switch is added, you can configure its appearance and default state.
- Set the default state (on or off):
mySwitch.isOn = true // Set the switch to the 'on' position- Customize colors:
You can also customize the tint colors of the switch.
mySwitch.onTintColor = UIColor.green // Color when the switch is on
mySwitch.thumbTintColor = UIColor.white // Color of the thumb (the circular element)
Step 3: Add Action for UISwitch
To respond to changes in the switch’s state, you need to add a target-action method. This will allow you to detect when the user toggles the switch on or off.
Option 1: Using Interface Builder
- Control-drag from the switch in Interface Builder to your
ViewController.swiftfile. - Select Action from the options and name your method (e.g.,
switchToggled). - Xcode will generate a method like this:
@IBAction func switchToggled(_ sender: UISwitch) {
    if sender.isOn {
        print("The switch is ON")
    } else {
        print("The switch is OFF")
    }
}
Option 2: Programmatically
If you added the switch programmatically, you can add the action like this:
mySwitch.addTarget(self, action: #selector(switchToggled(_:)), for: .valueChanged)

@objc func switchToggled(_ sender: UISwitch) {
    if sender.isOn {
        print("Switch is ON")
    } else {
        print("Switch is OFF")
    }
}
This method will trigger every time the switch’s value changes, allowing you to react accordingly.
Step 4: Testing the UISwitch
Once you’ve added the UISwitch and set up the action, run your app on a simulator or a real device. Toggle the switch, and you should see your action method being triggered each time you switch it on or off.
Full Code:
import UIKit

class ViewController: UIViewController {

    override func viewDidLoad() {
        super.viewDidLoad()

        // Create and add UISwitch to the view
        let mySwitch = UISwitch(frame: CGRect(x: 150, y: 300, width: 0, height: 0))
        mySwitch.isOn = true // Set default state
        mySwitch.onTintColor = UIColor.blue // Customize color
        view.addSubview(mySwitch)

        // Add action for value change
        mySwitch.addTarget(self, action: #selector(switchToggled(_:)), for: .valueChanged)
    }

    @objc func switchToggled(_ sender: UISwitch) {
        if sender.isOn {
            print("Switch is ON")
        } else {
            print("Switch is OFF")
        }
    }
}
You can watch the UISwitch Application example video on our YouTube channel.
Youtube Video: How to Use Switch in Swift – A Simple Example
Conclusion
UISwitch is a simple yet versatile control that enhances user interaction in your app. Whether you’re using it for settings toggles or other binary choices, it’s easy to implement both visually and programmatically.