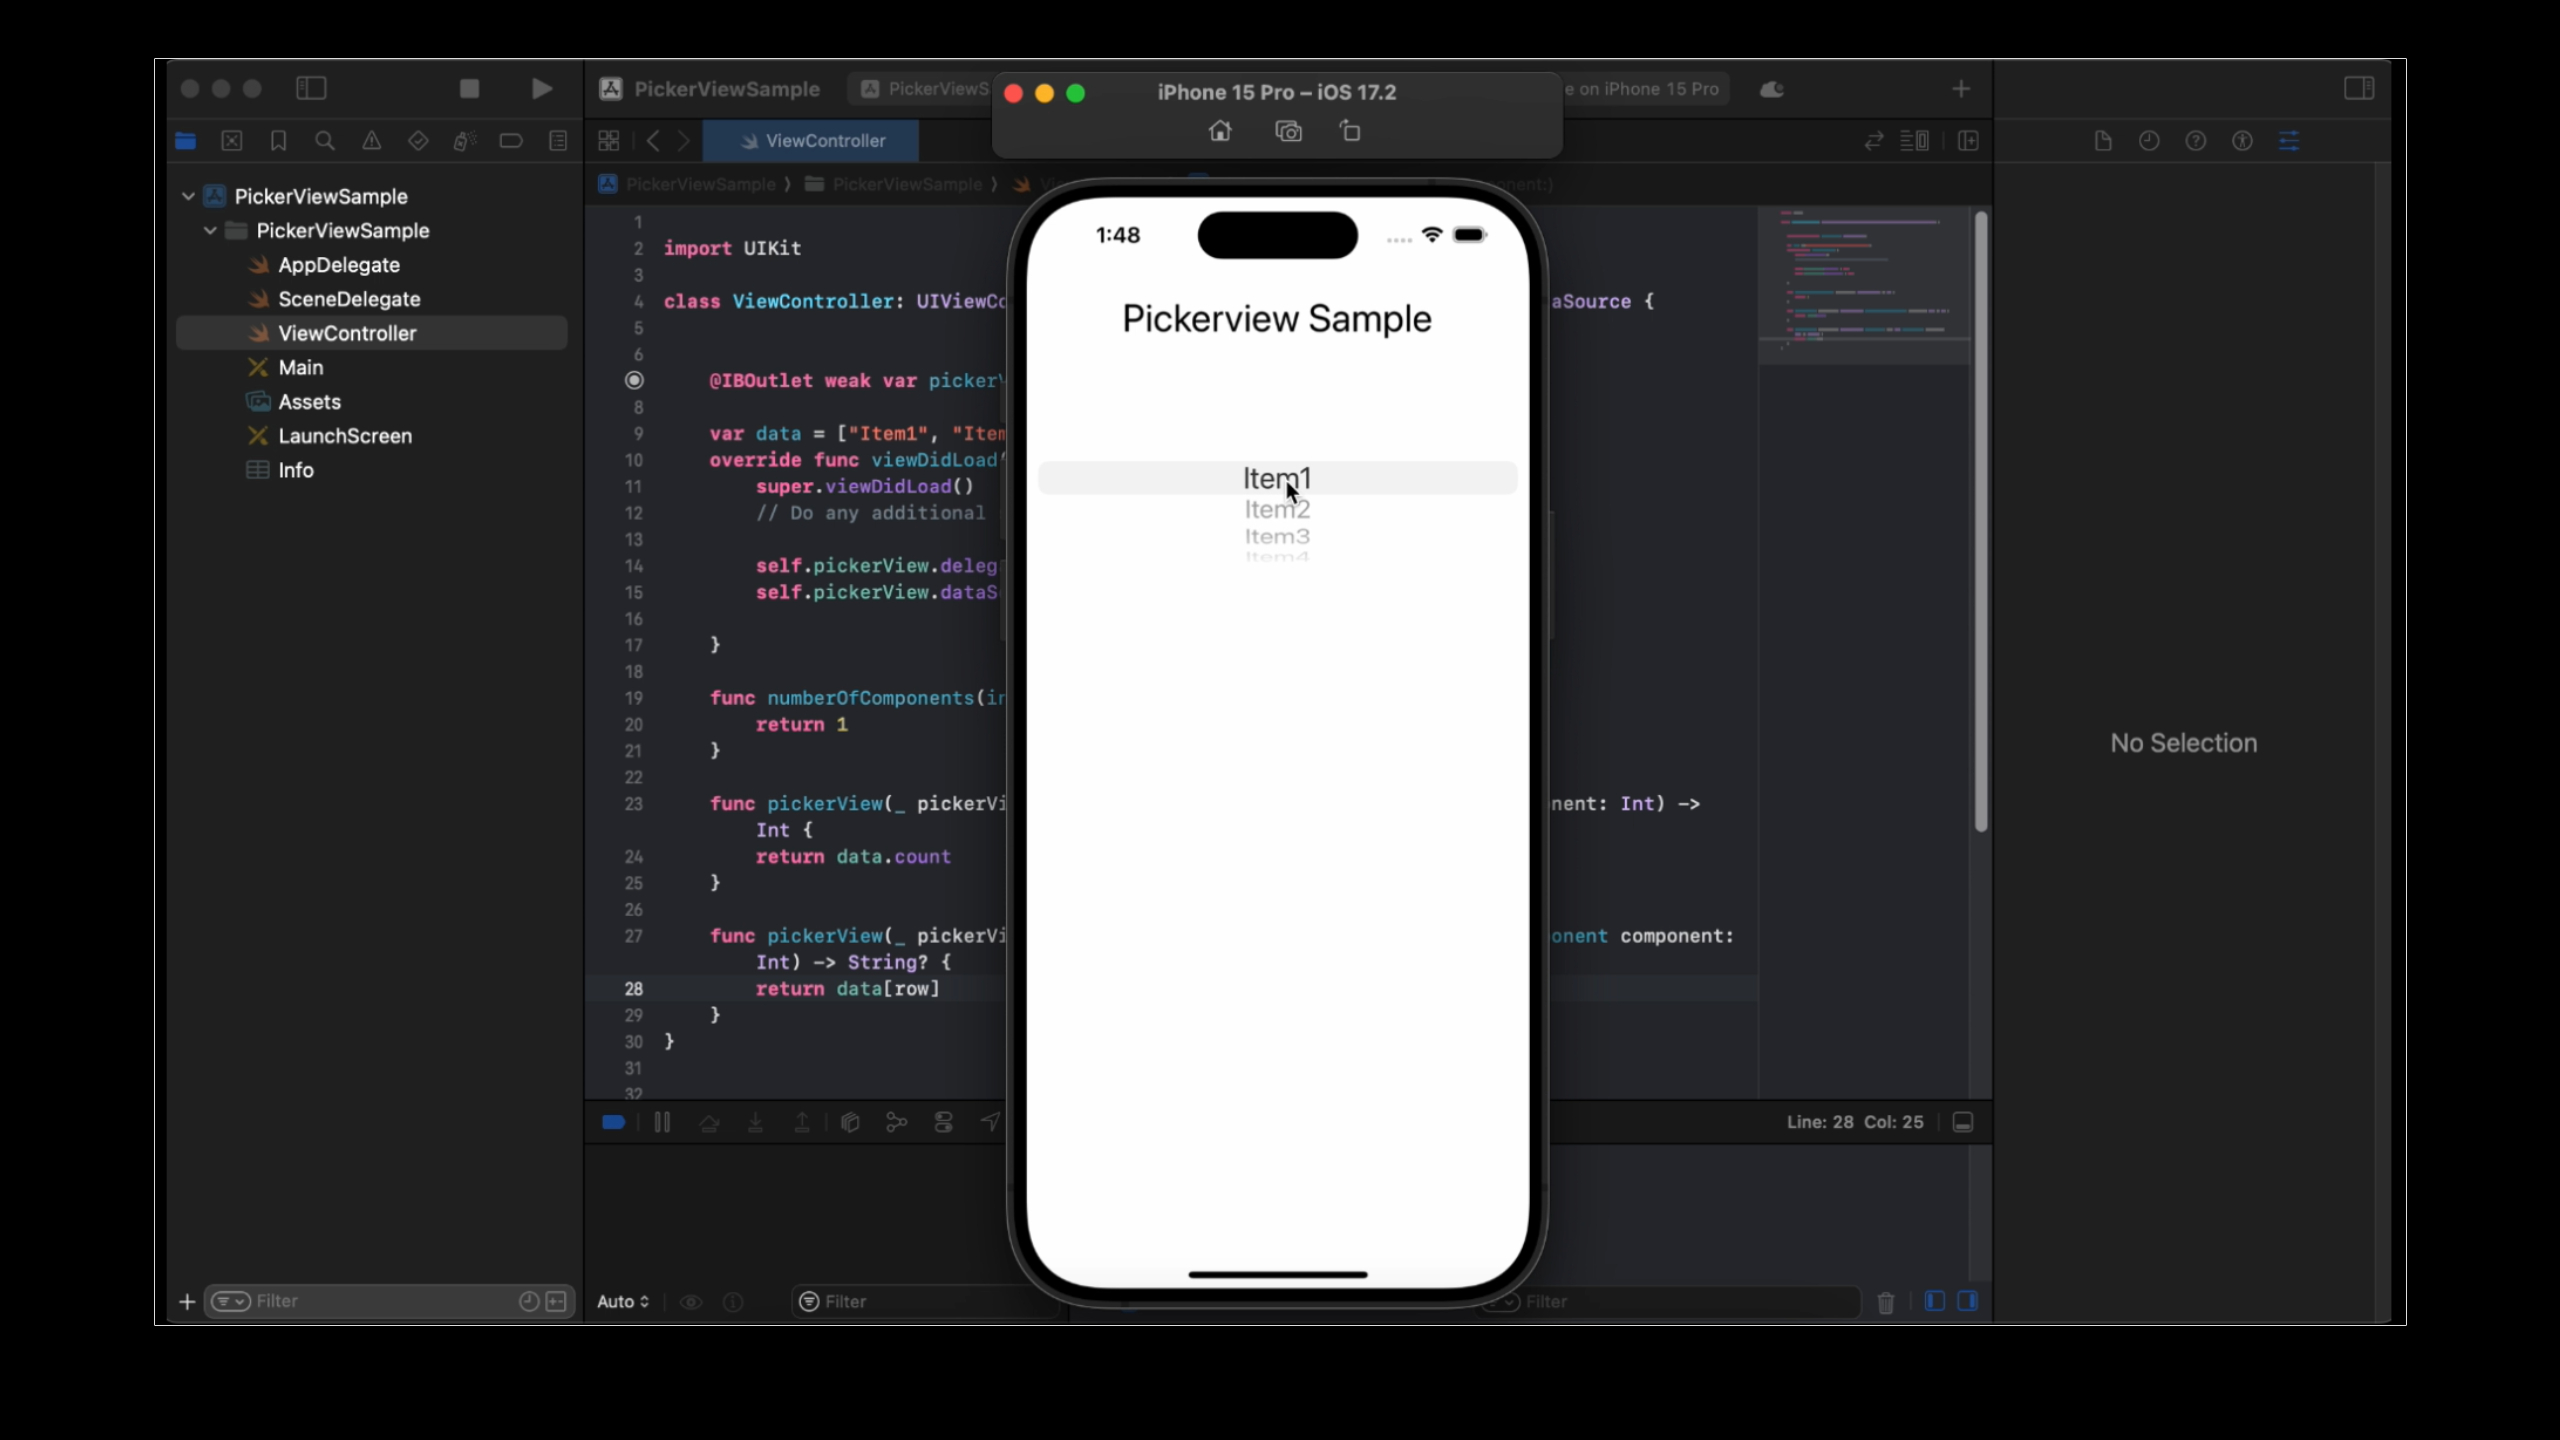
When building apps in Swift, you often need to let users choose from a list of options. A common way to achieve this is by using UIPickerView. It’s a visual, scrolling selector that lets users pick an option from a list—imagine it as a spinning wheel of choices. Whether you’re building a settings screen, a form, or an app where users need to make selections, UIPickerView is your friend.
In this post, we’ll explore how to set up and use UIPickerView in Swift. By the end, you’ll be able to easily integrate it into your own projects.
Step 1: Adding a UIPickerView to Your ViewController
You can add a UIPickerView in two ways: either programmatically or by using Storyboards. Let’s go over both.
Adding the Picker Programmatically
To add it programmatically, instantiate the picker and add it to the view hierarchy using constraints. Here’s an example:
let pickerView = UIPickerView()
pickerView.translatesAutoresizingMaskIntoConstraints = false
view.addSubview(pickerView)

// Set constraints to center the picker in the view
pickerView.centerXAnchor.constraint(equalTo: view.centerXAnchor).isActive = true
pickerView.centerYAnchor.constraint(equalTo: view.centerYAnchor).isActive = true
This adds a UIPickerView right in the center of your screen.
Adding the Picker with Storyboards
If you prefer using Interface Builder, drag a UIPickerView from the Object Library onto your view controller. Then, create an outlet to reference it in your code:
@IBOutlet weak var pickerView: UIPickerView!Step 2: Setting Up the Delegate and Data Source
To make the UIPickerView work, you need to set up its delegate and data source. These protocols allow you to define what data the picker shows and how it behaves when a user selects something.
First, ensure your ViewController conforms to these protocols by updating the class definition:
class ViewController: UIViewController, UIPickerViewDelegate, UIPickerViewDataSource {
}
Next, assign the delegate and dataSource properties to self in your viewDidLoad() method:
pickerView.delegate = self
pickerView.dataSource = self
Step 3: Implementing Required Methods
Now that your class conforms to UIPickerViewDelegate and UIPickerViewDataSource, you need to implement a few methods.
Defining the Number of Components
The first thing to decide is how many components (columns) your picker will have. Most common pickers have just one, but you can add more.
func numberOfComponents(in pickerView: UIPickerView) -> Int {
    return 1 // Single-column picker
}
Defining the Number of Rows
Next, you need to tell the picker how many rows it should display. This corresponds to the number of options you want to present in the picker.
func pickerView(_ pickerView: UIPickerView, numberOfRowsInComponent component: Int) -> Int {
    return data.count
}
The data here is an array that holds your picker options:
let data = ["Option 1", "Option 2", "Option 3", "Option 4"]Displaying the Title for Each Row
To display titles for each row in the picker, implement the following method:
func pickerView(_ pickerView: UIPickerView, titleForRow row: Int, forComponent component: Int) -> String? {
    return data[row]
}
This method will take each item from your data array and display it in the picker.
Handling User Selection
Finally, you’ll want to know when a user selects an option. Implement the didSelectRow method to handle that:
func pickerView(_ pickerView: UIPickerView, didSelectRow row: Int, inComponent component: Int) {
    print("User selected: \(data[row])")
}
This method will be triggered whenever the user spins the picker and selects an item. You can then perform actions based on their selection, such as updating labels or storing the selection in a variable.
Full Code:
import UIKit

class ViewController: UIViewController, UIPickerViewDelegate, UIPickerViewDataSource {

    // PickerView instance
    let pickerView = UIPickerView()

    // Data for the pickerView
    let options = ["Option 1", "Option 2", "Option 3", "Option 4"]

    // Label to display the selected option
    let selectedLabel: UILabel = {
        let label = UILabel()
        label.textAlignment = .center
        label.font = UIFont.systemFont(ofSize: 24, weight: .medium)
        label.translatesAutoresizingMaskIntoConstraints = false
        return label
    }()

    override func viewDidLoad() {
        super.viewDidLoad()

        // Set up the UI
        setupUI()

        // Set up the pickerView delegate and dataSource
        pickerView.delegate = self
        pickerView.dataSource = self
    }

    // MARK: - UI Setup
    private func setupUI() {
        // Add pickerView to the view hierarchy
        pickerView.translatesAutoresizingMaskIntoConstraints = false
        view.addSubview(pickerView)

        // Add the selectedLabel to display selected option
        view.addSubview(selectedLabel)

        // Set up layout constraints for pickerView and selectedLabel
        NSLayoutConstraint.activate([
            pickerView.centerXAnchor.constraint(equalTo: view.centerXAnchor),
            pickerView.centerYAnchor.constraint(equalTo: view.centerYAnchor),

            selectedLabel.bottomAnchor.constraint(equalTo: pickerView.topAnchor, constant: -20),
            selectedLabel.centerXAnchor.constraint(equalTo: view.centerXAnchor),
            selectedLabel.widthAnchor.constraint(equalTo: view.widthAnchor, multiplier: 0.8)
        ])
    }

    // MARK: - UIPickerViewDataSource

    func numberOfComponents(in pickerView: UIPickerView) -> Int {
        // Number of columns in pickerView (1 in this case)
        return 1
    }

    func pickerView(_ pickerView: UIPickerView, numberOfRowsInComponent component: Int) -> Int {
        // Number of rows in the pickerView based on the options array
        return options.count
    }

    // MARK: - UIPickerViewDelegate

    func pickerView(_ pickerView: UIPickerView, titleForRow row: Int, forComponent component: Int) -> String? {
        // Display title for each row in pickerView
        return options[row]
    }

    func pickerView(_ pickerView: UIPickerView, didSelectRow row: Int, inComponent component: Int) {
        // Action triggered when a user selects a row in pickerView
        let selectedOption = options[row]
        selectedLabel.text = "Selected: \(selectedOption)"
        print("User selected: \(selectedOption)")
    }
}
You can watch the UIPickerView application example video on our YouTube channel.
Conclusion
And that’s it! Now you know how to set up and use UIPickerView in Swift. Whether you add it programmatically or via Storyboards, setting up the data source and delegate is key to ensuring your picker works smoothly. By implementing the right methods, you can customize the picker to display any data you need and handle user interactions efficiently.
This component is a great way to let users make choices without cluttering the interface with lots of buttons or menus. Happy coding!
