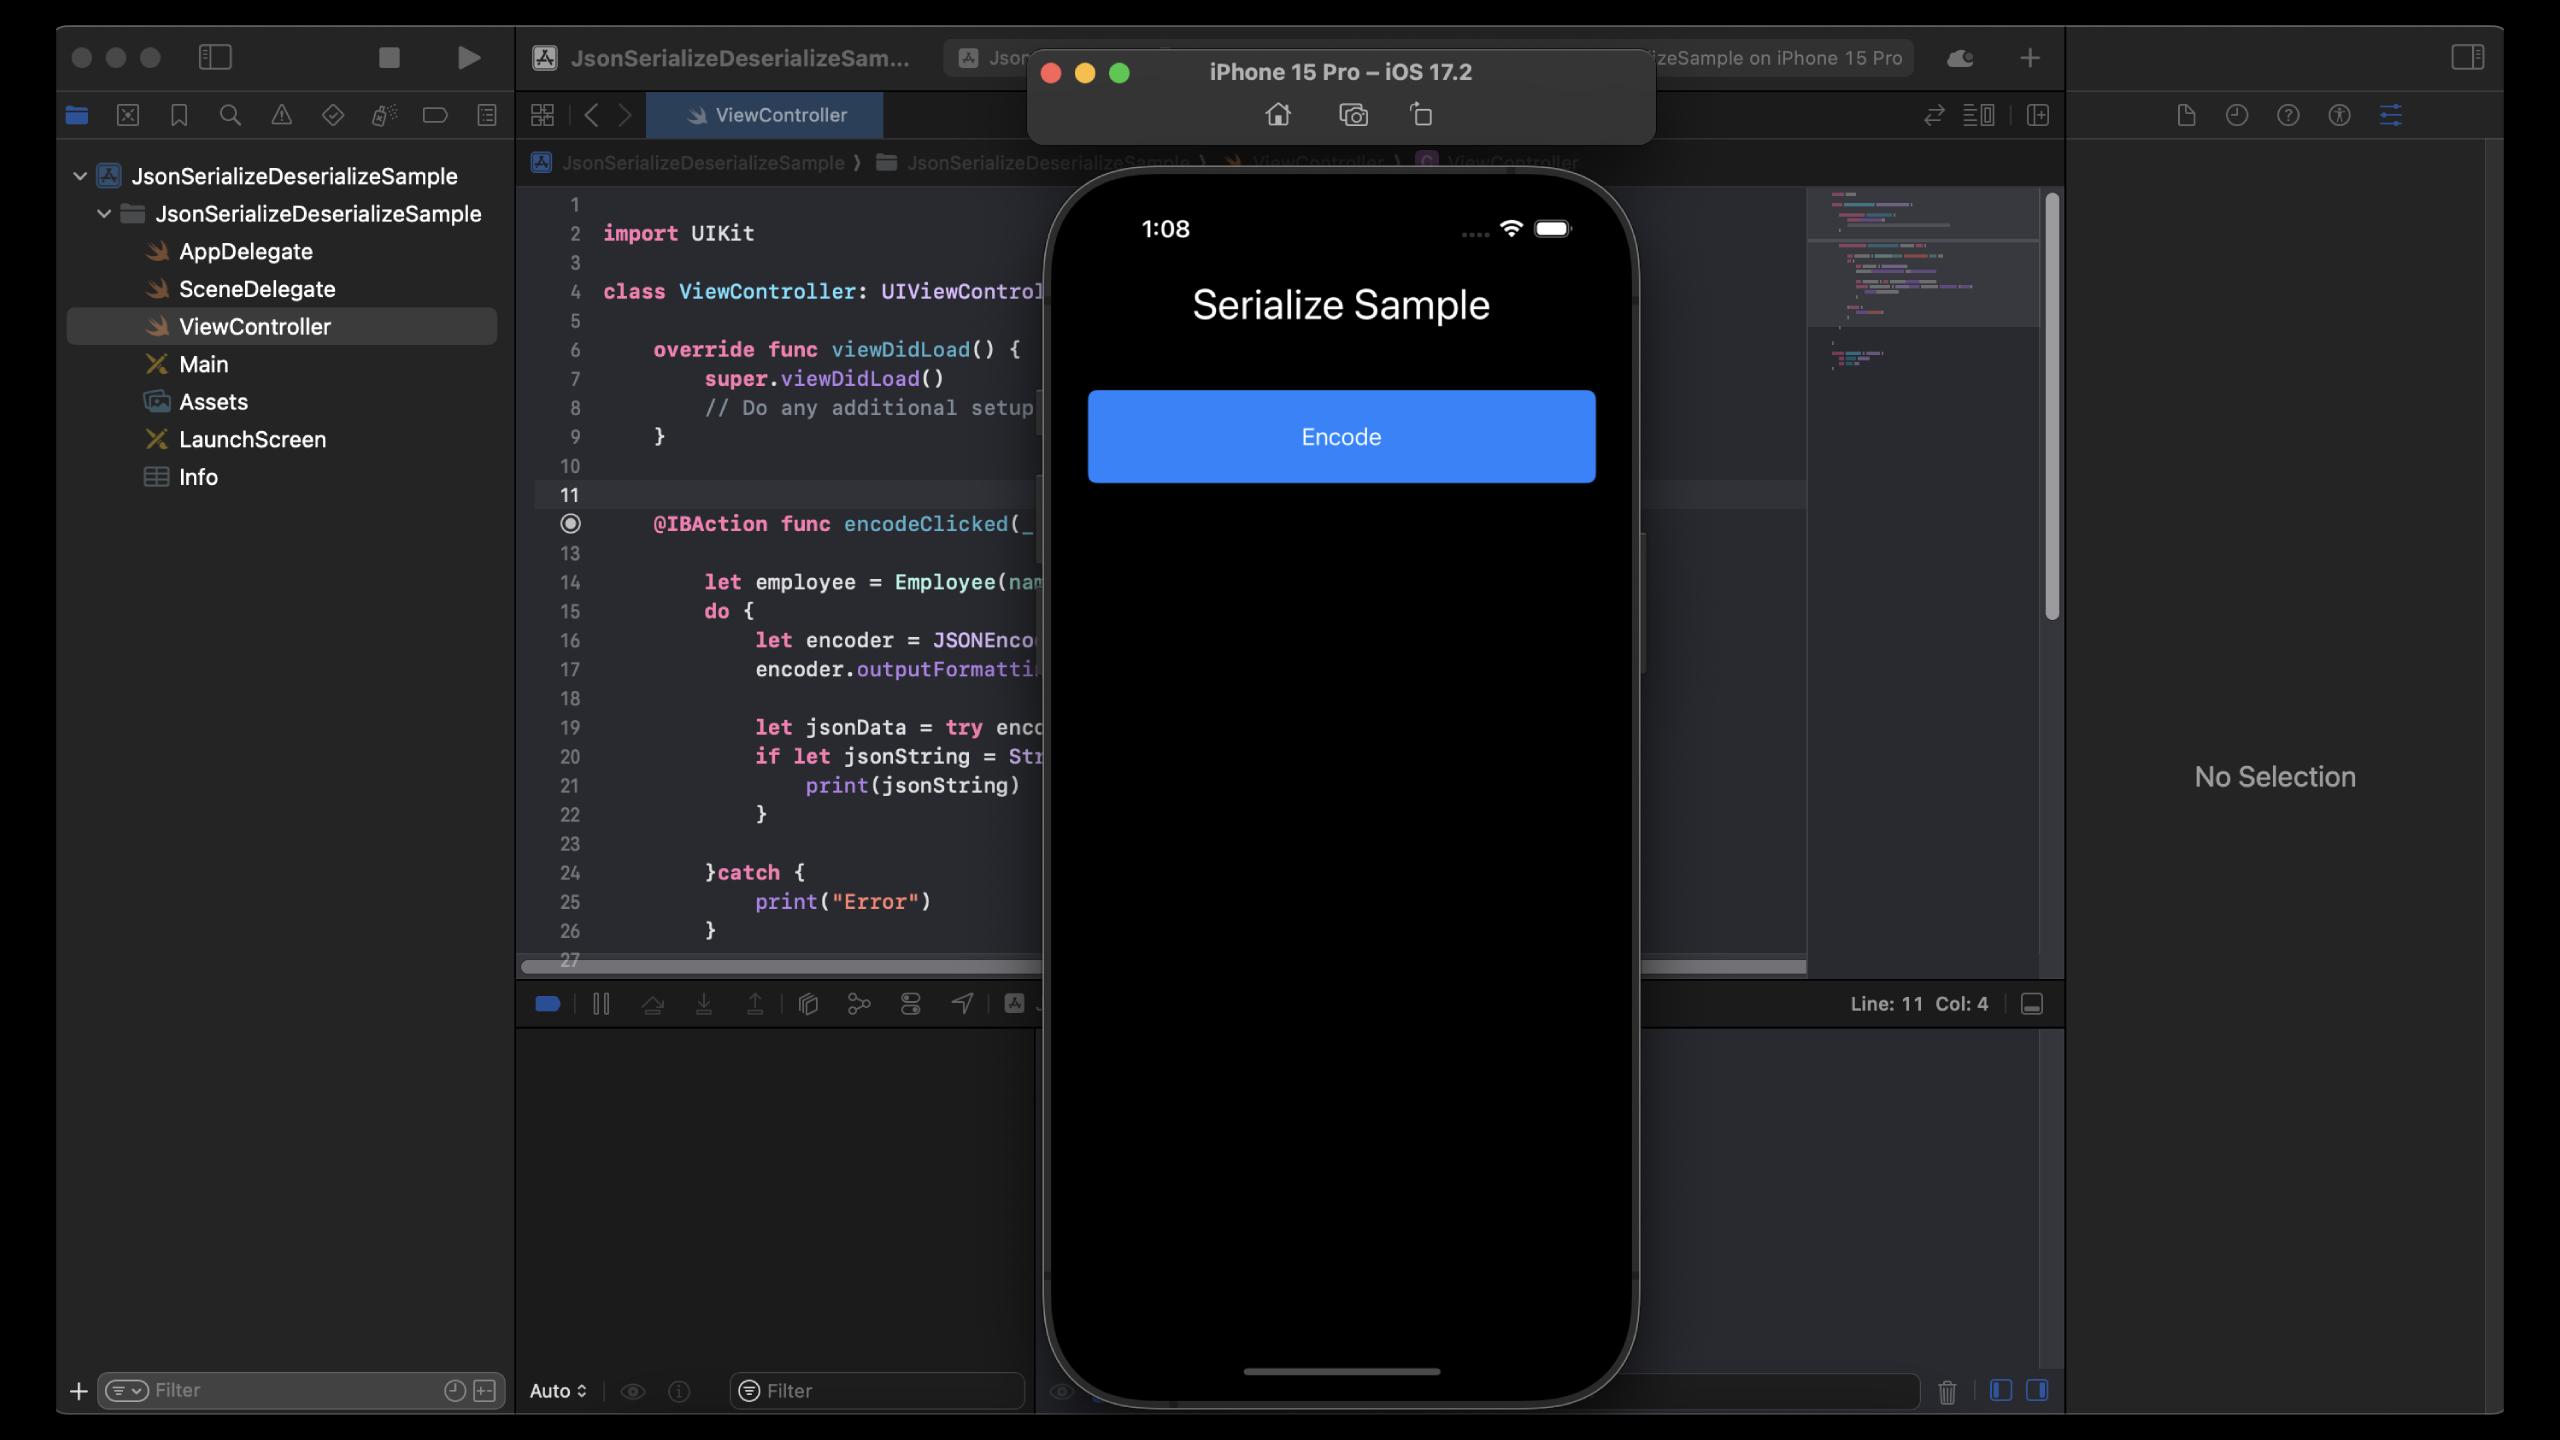
Serialization is the process of converting an object into a format that can be easily stored or transmitted, such as JSON (JavaScript Object Notation). In Swift, you can serialize (convert) objects to JSON using the JSONEncoder class. In this post, we’ll cover how to serialize a basic object to JSON in Swift.
Step 1: Define a Struct or Class
To serialize an object to JSON, the object must conform to the Codable protocol, which is a combination of Encodable and Decodable. Here’s how you can define a simple struct:
import Foundation

struct User: Codable {
    var id: Int
    var name: String
    var email: String
}
Explanation:
Codable: By conforming toCodable, we allow the struct to be encoded (serialized to JSON) and decoded (deserialized from JSON).- Properties: The
Userstruct has three properties:id,name, andemail. These will be serialized into JSON.
Step 2: Create an Instance of the Object
Now, let’s create an instance of the User object:
let user = User(id: 1, name: "Test User", email: "testuser@example.com")This object will be serialized into JSON format in the next step.
Step 3: Serialize the Object to JSON
You can use JSONEncoder to serialize the User object into JSON. Here’s the code:
do {
    let jsonData = try JSONEncoder().encode(user)
    if let jsonString = String(data: jsonData, encoding: .utf8) {
        print("JSON string: \(jsonString)")
    }
} catch {
    print("Error serializing object: \(error)")
}
Explanation:
JSONEncoder().encode(): This encodes theuserobject into JSON format. Theencode()method returns aDataobject.String(data:encoding:): Since the JSON data is returned as binaryData, we convert it into a human-readable string using theStringinitializer, specifyingUTF-8encoding.do-catchBlock: We wrap the encoding process in ado-catchblock to handle any errors that may occur during serialization.
Output:
The output of the above code will be a JSON string representing the User object:
JSON string: {"id":1,"name":"Test User","email":"testuser@example.com"}Step 4: Pretty Printing the JSON
If you want the JSON output to be more readable, you can configure the JSONEncoder to use pretty printing:
do {
    let encoder = JSONEncoder()
    encoder.outputFormatting = .prettyPrinted
    let jsonData = try encoder.encode(user)
    if let jsonString = String(data: jsonData, encoding: .utf8) {
        print("Pretty printed JSON string: \(jsonString)")
    }
} catch {
    print("Error serializing object: \(error)")
}
Explanation:
.prettyPrinted: This option formats the JSON with indentation and line breaks to make it easier to read.
Output:
Here’s what the pretty-printed JSON might look like:
Pretty printed JSON string: {
  "id" : 1,
  "name" : "Test User",
  "email" : "testuser@example.com"
}
Full Example
Here’s the full code example for serializing an object to JSON and pretty-printing it:
import Foundation

struct User: Codable {
    var id: Int
    var name: String
    var email: String
}

let user = User(id: 1, name: "Test User", email: "testuser@example.com")

do {
    let encoder = JSONEncoder()
    encoder.outputFormatting = .prettyPrinted
    let jsonData = try encoder.encode(user)
    if let jsonString = String(data: jsonData, encoding: .utf8) {
        print("Pretty printed JSON string: \(jsonString)")
    }
} catch {
    print("Error serializing object: \(error)")
}
You can watch “How to Serialize Object to Json in Swift” video on our YouTube channel.
Conclusion
In this guide, we’ve shown how to serialize a simple Swift object to JSON using JSONEncoder. This process is essential when you need to send data to a server, save data locally, or exchange information between different parts of your app. By using the Codable protocol and JSONEncoder, you can easily convert Swift objects to JSON and vice versa.
Happy coding!
