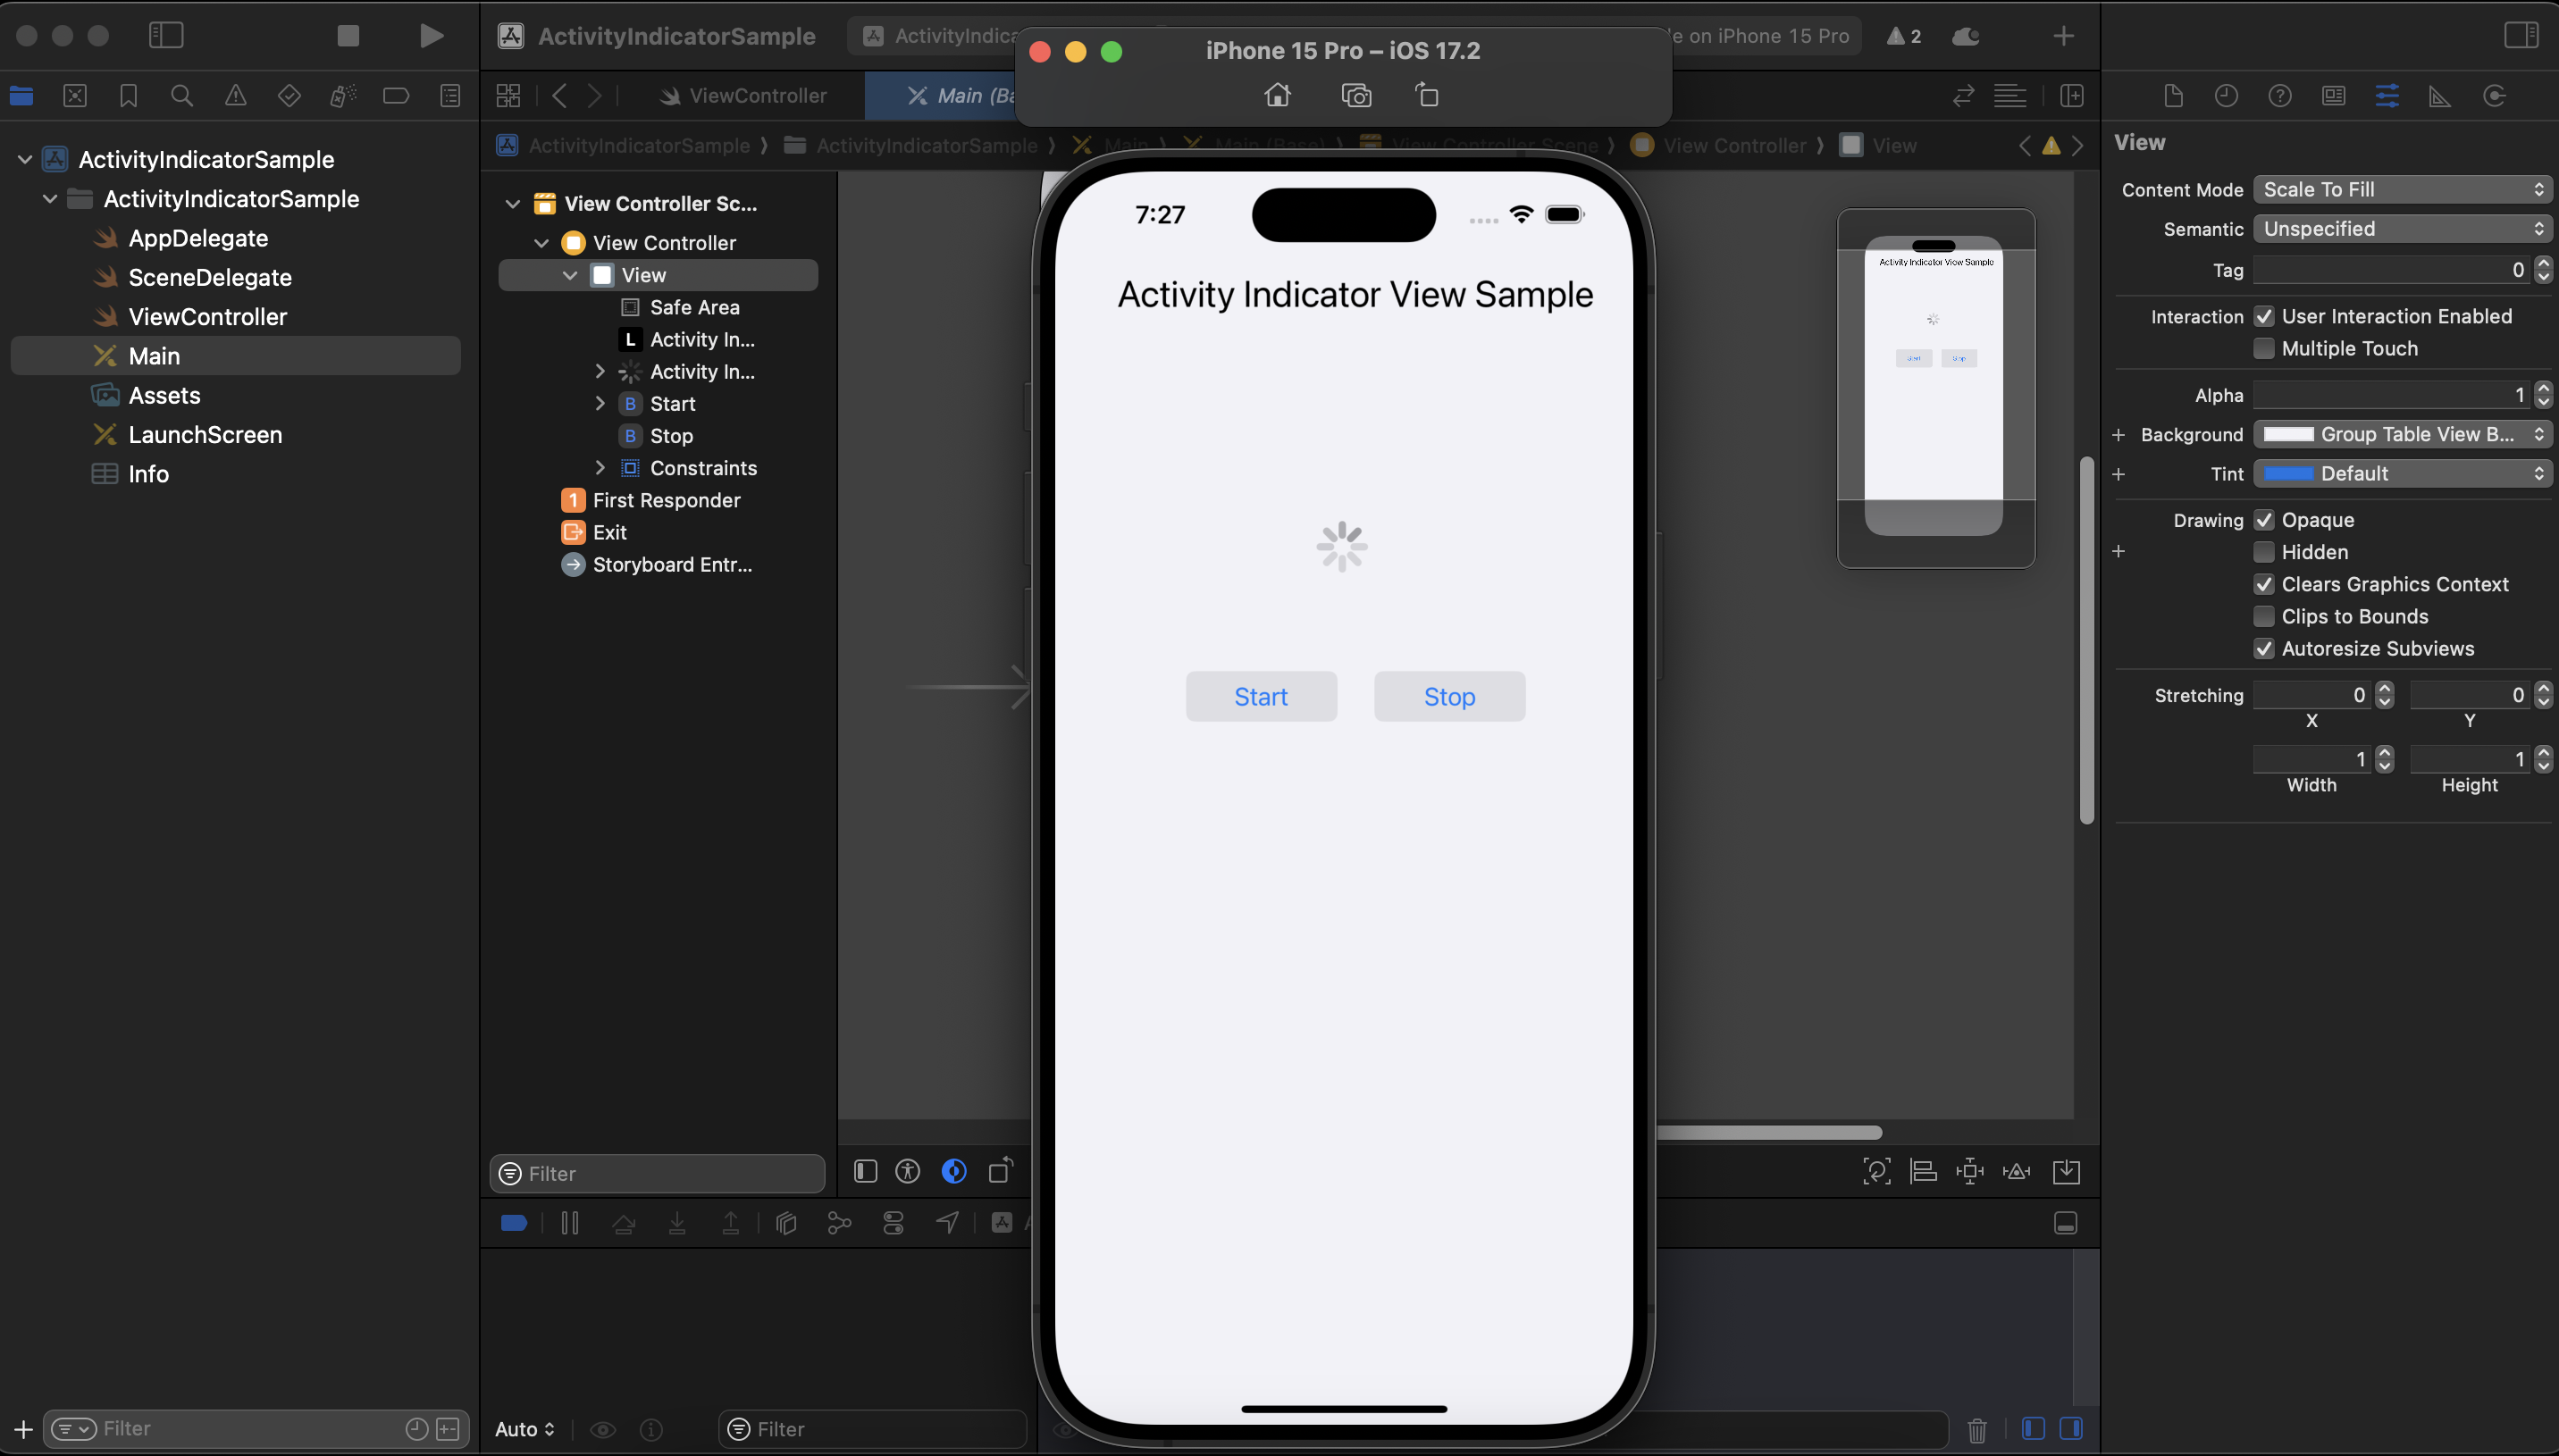
When your app is performing a task that takes time, such as loading data from the web or processing user input, it’s a good idea to inform users that something is happening. An UIActivityIndicatorView provides a clean and simple way to display an activity spinner while your app completes a task. In this post, we’ll cover how to set up and use an activity indicator in Swift with a basic example.
Step 1: Adding the UIActivityIndicatorView
You can add an activity indicator either programmatically or through Storyboard. For this example, we’ll add it programmatically.
Here’s how to create and configure an UIActivityIndicatorView:
import UIKit

class ViewController: UIViewController {

    let activityIndicator = UIActivityIndicatorView(style: .large)

    override func viewDidLoad() {
        super.viewDidLoad()

        // Set up the activity indicator
        activityIndicator.center = view.center
        activityIndicator.hidesWhenStopped = true

        // Add the activity indicator to the view
        view.addSubview(activityIndicator)
    }
}
Explanation:
UIActivityIndicatorView(style:): We initialize the activity indicator and set its style. The.largestyle gives a larger spinner, while.mediumprovides a smaller one.- Centering: We set the activity indicator’s position to the center of the view using
activityIndicator.center = view.center. hidesWhenStopped: When this property is set totrue, the activity indicator will automatically hide when it’s stopped.
Step 2: Starting and Stopping the Activity Indicator
You control the activity indicator by starting or stopping its animation. Here’s how you can start the indicator when a task begins and stop it when the task completes.
import UIKit

class ViewController: UIViewController {

    let activityIndicator = UIActivityIndicatorView(style: .large)

    override func viewDidLoad() {
        super.viewDidLoad()

        activityIndicator.center = view.center
        activityIndicator.hidesWhenStopped = true
        view.addSubview(activityIndicator)

        // Start the activity indicator
        activityIndicator.startAnimating()

        // Simulate a network task or data load with a delay
        DispatchQueue.main.asyncAfter(deadline: .now() + 3) {
            // Stop the activity indicator after the task is done
            self.activityIndicator.stopAnimating()
        }
    }
}
Explanation:
startAnimating(): This method starts the spinning animation, indicating that something is happening.- Simulating a Task: We simulate a task with
DispatchQueue.main.asyncAfter, which waits for 3 seconds before stopping the activity indicator. stopAnimating(): This method stops the spinner when the task is complete.
Full Basic Example
Here’s the full code that sets up an activity indicator and simulates a task, then hides the indicator after the task is complete:
import UIKit

class ViewController: UIViewController {

    let activityIndicator = UIActivityIndicatorView(style: .large)

    override func viewDidLoad() {
        super.viewDidLoad()

        // Set up the activity indicator
        activityIndicator.center = view.center
        activityIndicator.hidesWhenStopped = true
        view.addSubview(activityIndicator)

        // Start the activity indicator
        activityIndicator.startAnimating()

        // Simulate a task with a delay of 3 seconds
        DispatchQueue.main.asyncAfter(deadline: .now() + 3) {
            // Stop the activity indicator when the task is done
            self.activityIndicator.stopAnimating()
        }
    }
}
Step 3: Customizing the Activity Indicator
You can customize the appearance of the activity indicator by changing its color or style. For example, here’s how you can change the spinner color:
activityIndicator.color = .redYou can also adjust the size using .medium or .large when initializing the activity indicator:
let activityIndicator = UIActivityIndicatorView(style: .medium)Step 4: Hiding the Activity Indicator
The hidesWhenStopped property ensures that the activity indicator disappears automatically when you call stopAnimating(). If you don’t want it to hide automatically, you can set this property to false:
activityIndicator.hidesWhenStopped = falseIn this case, you’d need to manually hide or remove the activity indicator by changing its isHidden property:
activityIndicator.isHidden = trueYou can watch “How to Use Activity Indicator View in Swift” video on our YouTube channel.
Conclusion
In this guide, we’ve walked through the basics of using UIActivityIndicatorView in Swift. By adding an activity indicator to your app, you can provide visual feedback to users during long tasks. This enhances the user experience by letting them know something is happening behind the scenes.
With just a few lines of code, you can add a clean and functional activity spinner to your app, giving it a polished, professional look. Happy coding!
