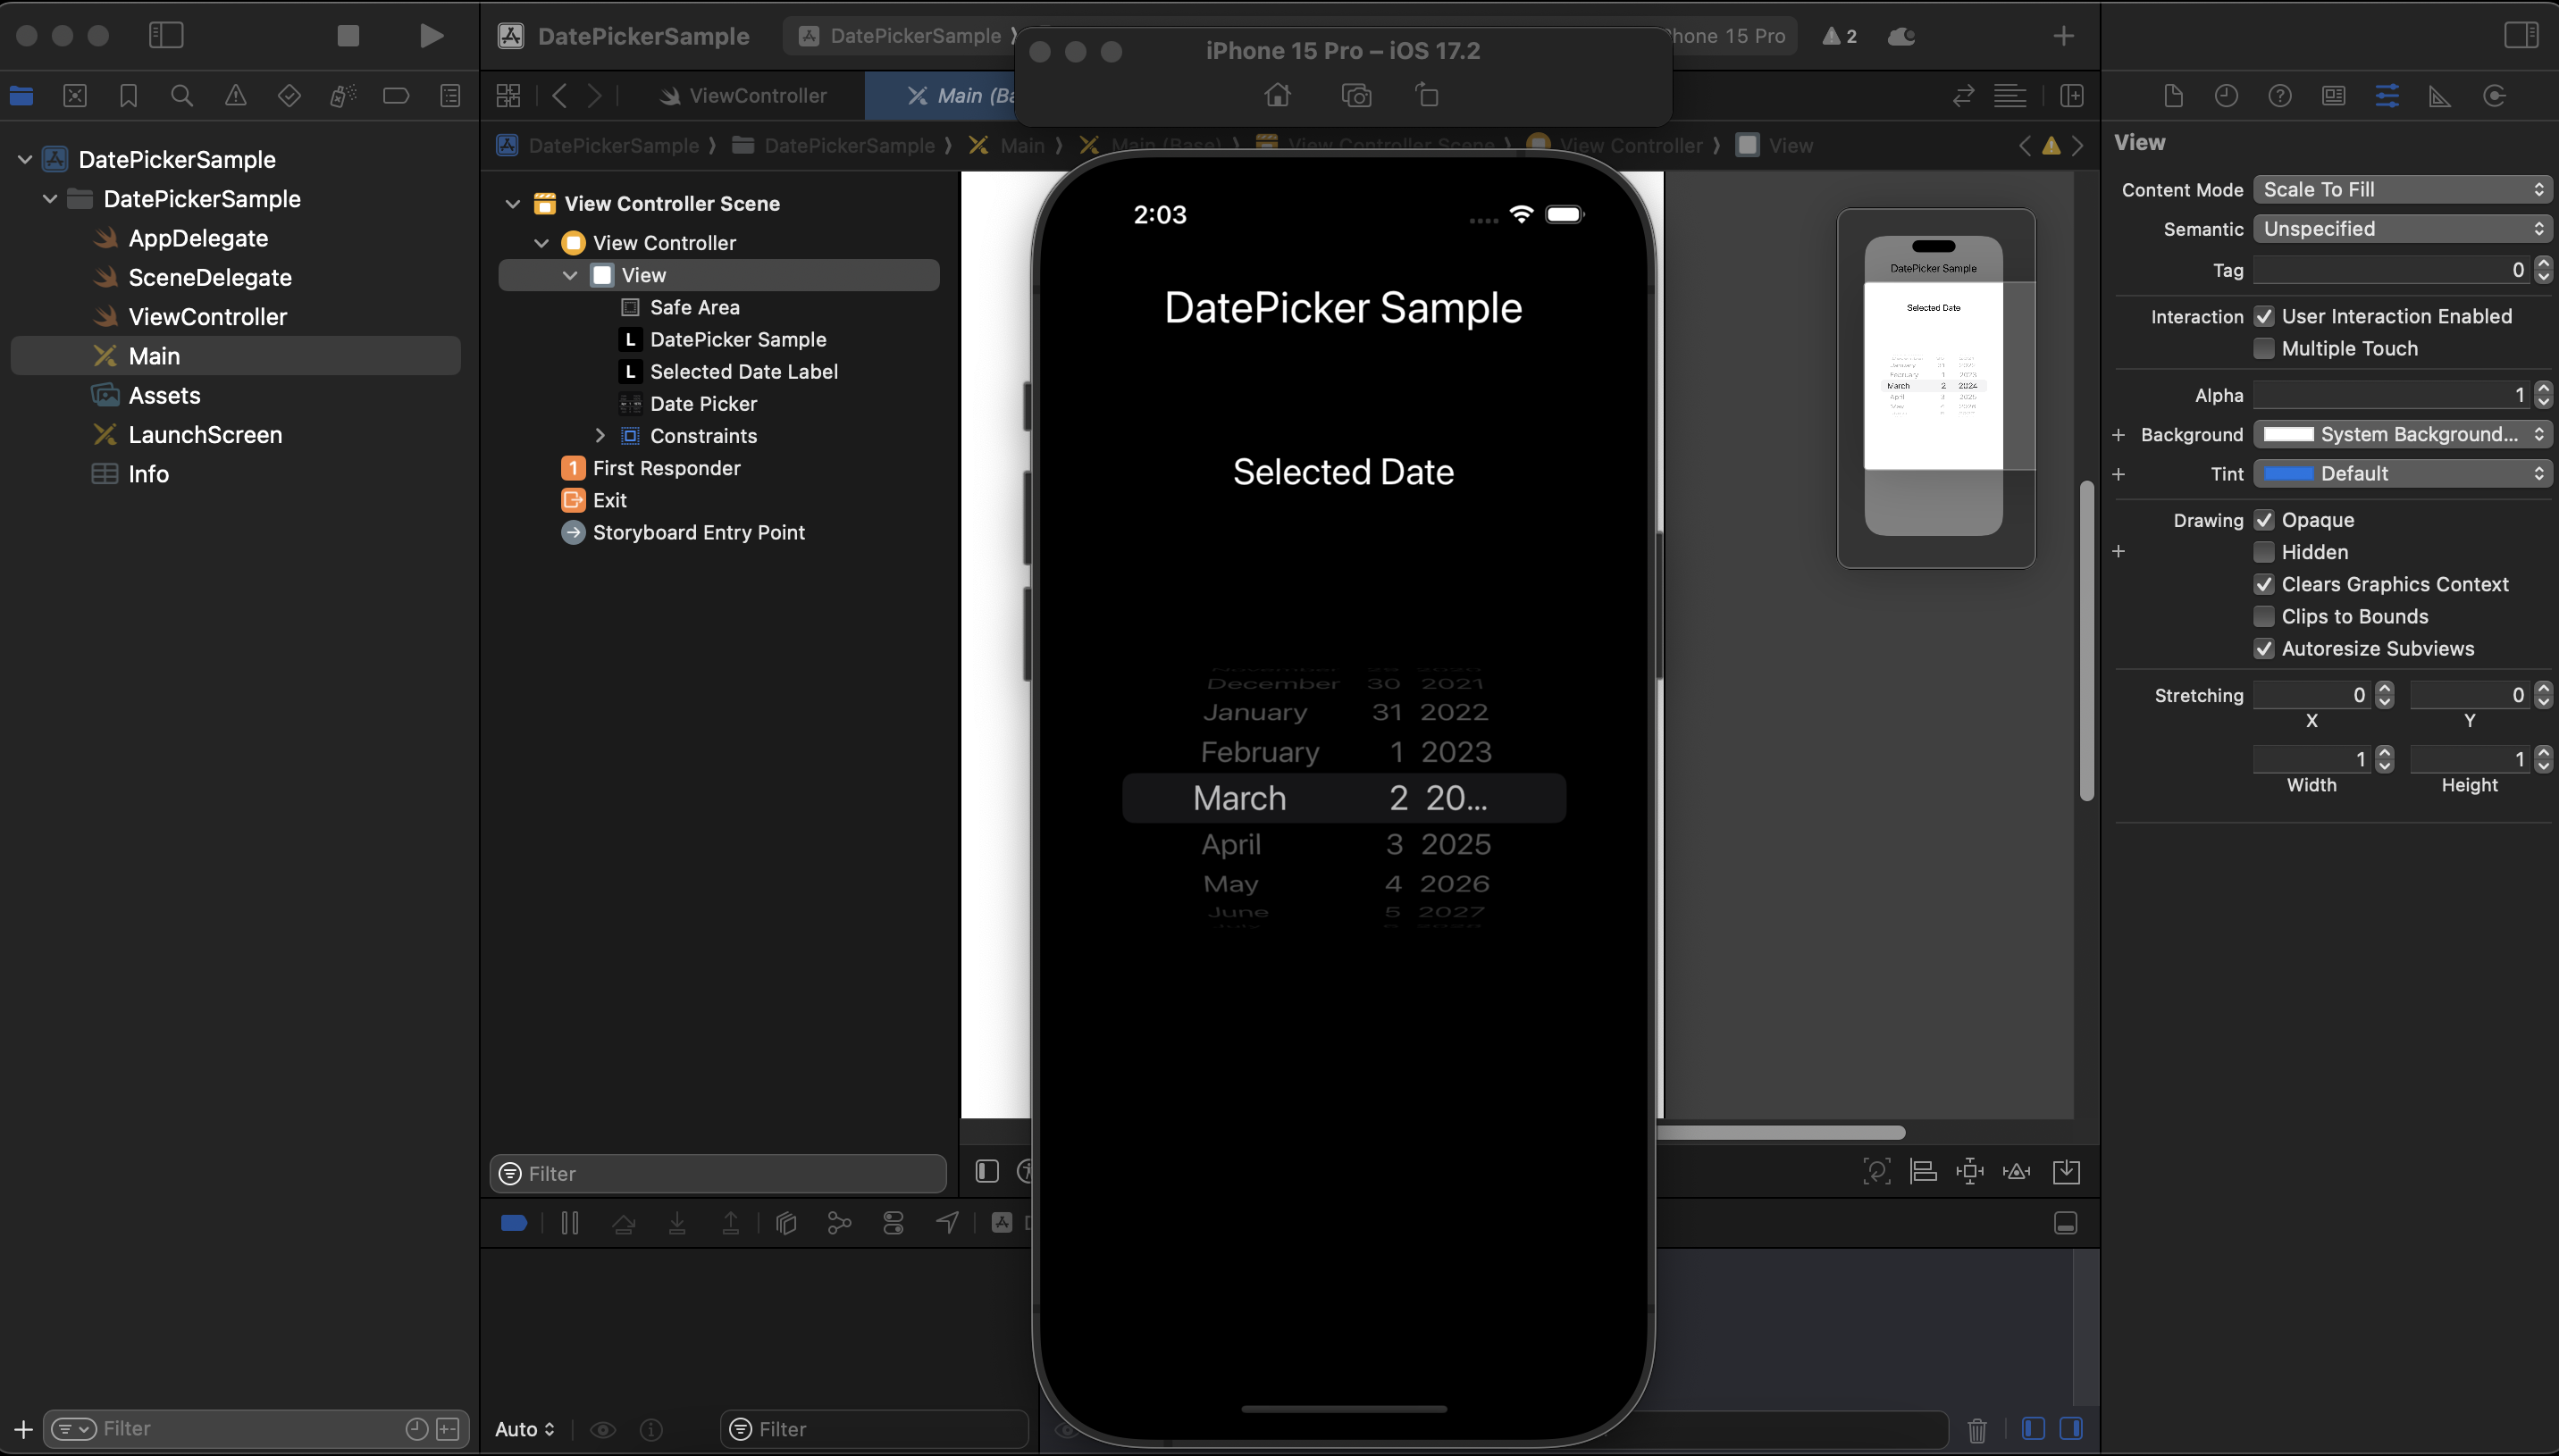
If you need a date selection option in your iOS app, Swift’s UIDatePicker provides an easy way to allow users to choose a date or time. In this guide, we’ll walk through the simplest way to set up and use a date picker in Swift.
Step 1: Setting Up the UIDatePicker
UIDatePicker can be added either through Storyboard or programmatically. For simplicity, we’ll add it programmatically in this example.
Here’s how to create and configure a basic date picker in your app:
import UIKit

class ViewController: UIViewController {

    let datePicker = UIDatePicker()

    override func viewDidLoad() {
        super.viewDidLoad()

        // Set the date picker mode to date
        datePicker.datePickerMode = .date

        // Set frame and position for the date picker
        datePicker.frame = CGRect(x: 0, y: 200, width: view.frame.width, height: 300)

        // Add the date picker to the view
        view.addSubview(datePicker)
    }
}
Explanation:
UIDatePicker: We create an instance ofUIDatePickerand store it in thedatePickervariable.datePickerMode: This property defines what the picker will display. In this case, we set it to.dateso users can select a date.- Frame and Position: We position the date picker on the screen using a frame. You can adjust this depending on where you want it to appear in your UI.
Step 2: Responding to Date Changes
Once the date picker is on the screen, you’ll likely want to do something when the user selects a date. You can add a target-action pattern to respond to changes.
Here’s how you can listen for changes and display the selected date:
import UIKit

class ViewController: UIViewController {

    let datePicker = UIDatePicker()

    override func viewDidLoad() {
        super.viewDidLoad()

        // Set up the date picker
        datePicker.datePickerMode = .date
        datePicker.frame = CGRect(x: 0, y: 200, width: view.frame.width, height: 300)

        // Add an action for when the date picker value changes
        datePicker.addTarget(self, action: #selector(dateChanged), for: .valueChanged)

        view.addSubview(datePicker)
    }

    @objc func dateChanged() {
        // Get the selected date
        let selectedDate = datePicker.date

        // Format the date to display it
        let formatter = DateFormatter()
        formatter.dateStyle = .medium
        let formattedDate = formatter.string(from: selectedDate)

        // Print or display the formatted date
        print("Selected date: \(formattedDate)")
    }
}
Explanation:
- Target-Action Pattern: We use
addTargetto trigger thedateChangedmethod whenever the user picks a new date. DateFormatter: The selected date is formatted into a readable string usingDateFormatter. In this case, the.mediumstyle gives a format like “Sep 14, 2024.”- Displaying the Date: You can print the selected date to the console or update a label in your app with the formatted date.
Full Basic Example
Here’s the full code for a simple app that uses a date picker:
import UIKit

class ViewController: UIViewController {

    let datePicker = UIDatePicker()

    override func viewDidLoad() {
        super.viewDidLoad()

        // Set up the date picker
        datePicker.datePickerMode = .date
        datePicker.frame = CGRect(x: 0, y: 200, width: view.frame.width, height: 300)

        // Add an action for when the date picker value changes
        datePicker.addTarget(self, action: #selector(dateChanged), for: .valueChanged)

        // Add the date picker to the view
        view.addSubview(datePicker)
    }

    @objc func dateChanged() {
        // Get the selected date
        let selectedDate = datePicker.date

        // Format the date
        let formatter = DateFormatter()
        formatter.dateStyle = .medium
        let formattedDate = formatter.string(from: selectedDate)

        // Print the formatted date
        print("Selected date: \(formattedDate)")
    }
}
You can watch “How to Use Date Picker in Swift” video on our YouTube channel.
Conclusion
This example demonstrates how to add a basic date picker to your Swift app, listen for date changes, and format the selected date. Whether you’re building a simple form or more complex functionality, UIDatePicker provides an easy way to handle date selection in your app.
Feel free to customize the date picker to suit your app’s needs, and happy coding!
